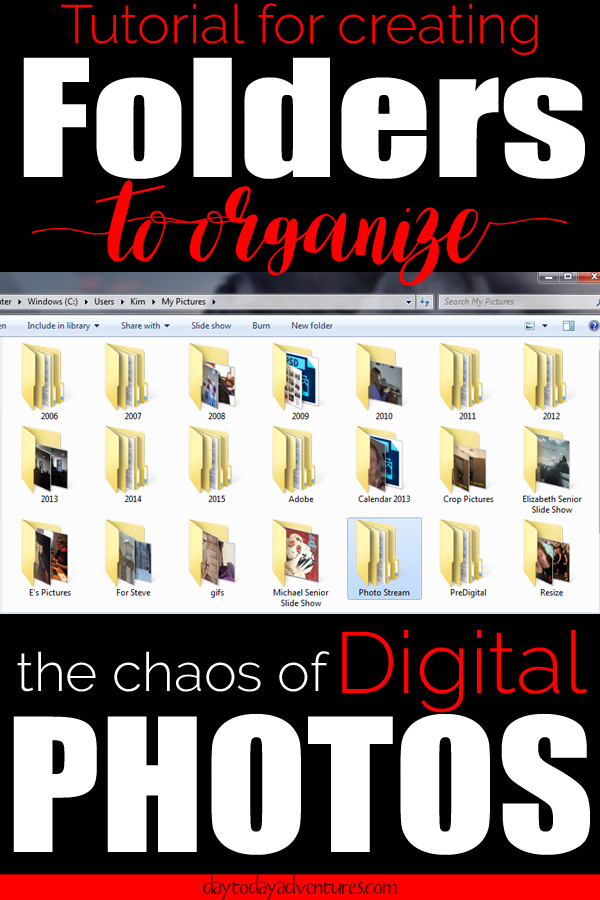
If there is something that is more chaotic than boxes of old photos, it is the hundreds or thousands of digital photos on our computers. Today's challenge is a tutorial for how to create folders that will bring order and organize the digital photos on your hard drive.
Photo Challenge week 1-4
Make sure to catch up on the past few weeks of the photo challenge! Do youshare my #1 Problem with Organizing Photos.
If you own a camera or a smart phone then I bet that you have this problem too!
Need to catch up?
- Week 1 A Quick Way to Start Organizing Photos
- Week 2 Time to Organize
- Week 3 More time to Work
- Week 4 How to Organize Digital Photos on computer
- Week 5 Tutorial for Creating Organized Folders for Digital Photos
- Week 6 5 Easy steps to declutter duplicate digital photos
- Week 7 Online Storage Options for Digital Photos
- Week 8 Options for external hard drive and CD/DVD photo backup
Creating Folders for Photo Organization
If you are satisfied with the level of organization of your photos on your computer then you can skip this week. But before you do be sure to ask yourself this question.
"In a year or five years when I go looking for a specific photo is my organization done in a way that I will have no problem finding the photo?"
A good system of organization will save hours of searching for lost or needed photos!
Step 1 - Create New Folders
To illustrate how to do this, I created my 2016 folder and monthly sub folders. You will choose whatever year or topic that you want to work on first.
- Open My Documents to start.
- Then open My Pictures.
- Right click with mouse in this area to get the option to create a folder.
- Name it 2016 and open the folder
- .Create a folder for each of the 12 months of the year.
- I name them with a number “01 January, 02 February” so that they will be in numerical order rather than alphabetical order when I open the folder. It is personal preference to do it this way.
*ALTERNATIVE* If you are going to sort by event, person or holiday then you would create folders named appropriately. My mother in law sends me photos so I put all of those in to a folder named “Photo’s from Suzanne”
Step 2 - Moving Photos into new folders
Next step is to move the photos in to the appropriate folders. Navigate from your new folder or sub folder to the place where your photos are “living” right now. You will need to select the photos in one of two ways then you are ready to relocate the photos in to your "new" organized folders.
1. Highlight groups by using mouse
2. Select various photos
3. Use keyboard commands or right click to get the menu for copying, cutting and pasting.
I find the keyboard commands are easier when I'm doing lots of cutting and pasting. The following key board commands are the ones I use the most often.
Copy - Ctrl C Cut - Ctrl X Paste - Ctrl V
4. Navigate to your newly created folders and paste your photos in their new location. Sometimes copying is a better choice so if you mess it up you still have photos in the old location. If you do this just be sure to go back and delete them so you don't have two copies of the same photos.
If you have a bunch of digital photos, then moving your photos into your new folders could take a while but once the job is complete then it is easy to move forward while continuing to organize all new photos using your folder system.
Did you notice that you have a bunch of photos that you don’t want to keep? Blurry ones, multiple shots of the same thing or photos you will never use? Well check back for the lesson on purging photos that are taking up space on your devices!


