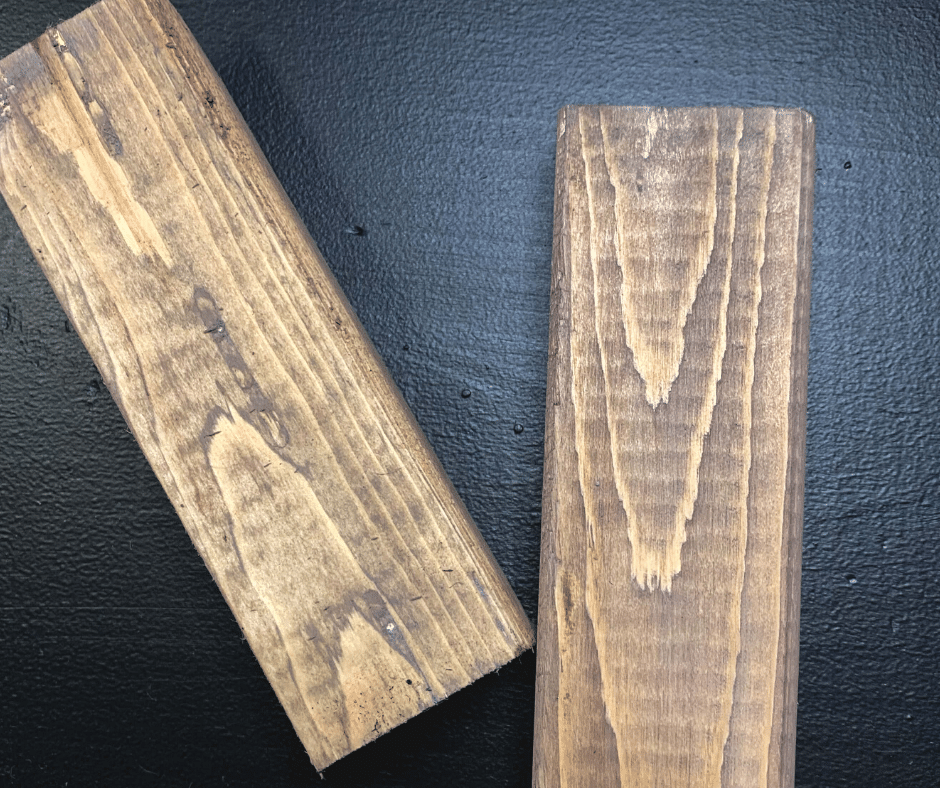
Staining wood brings out the grain and beauty of the wood. You can make something amazing by adding a bit of color to an inexpensive piece of pine! What isn’t fun is the smell and fumes of stain. Enter learning to use the method of staining wood with paint. No more stain fumes and there are endless colors to choose from!
I participate in the Amazom.com affiliates program. If you make a purchase after following one of my affiliate links (like the ones above) I earn a small commission, but it does not affect the price you pay. For more information please see my disclosure page. Thank you for supporting Day to Day Adventures.
It is a real challenge to learn woodworking skills and methods. My husband and father-in-law have taught me a lot and I’m a part of several groups on Facebook that are a huge help. Correct methods are so important when you create products for sale. I sell items locally and on-line with my handmade business, Blue Daisy Dreamer, so I want them to be good quality and look professional.
For me, staining needs to be done outside the house in our garage. That means half the year when the temperature drops I can’t make frames or stain wood which impacts my ability to run my business. When I found out that you can achieve a stained look by using paint it was a game-changer for me and I want to share that method with you!
Supply list
Method for staining wood with paint
1. Sanding. Leave it rough or sand it smooth. You do not have to sand your project for this method to work. Seriously. I will show you examples of both below.
2. Pick your color of paint. You can use interior or exterior paint. I like to have 3 or 4 colors to blend together to get that “old” rustic look but you can just use one and keep it simple!
3. Grab a baby wipe. I know it sounds crazy but it works! Really. The wipe is able to “brush” on the color and wipe off any excess that you don’t want.
4. Let it dry or add another layer. If you are happy with the color then let it dry completely but if you want to go darker or add a different look then add more layers. I like to put on brown, black, gray, and sometimes blue to achieve different looks. I write down my recipes so I can use them over and over.
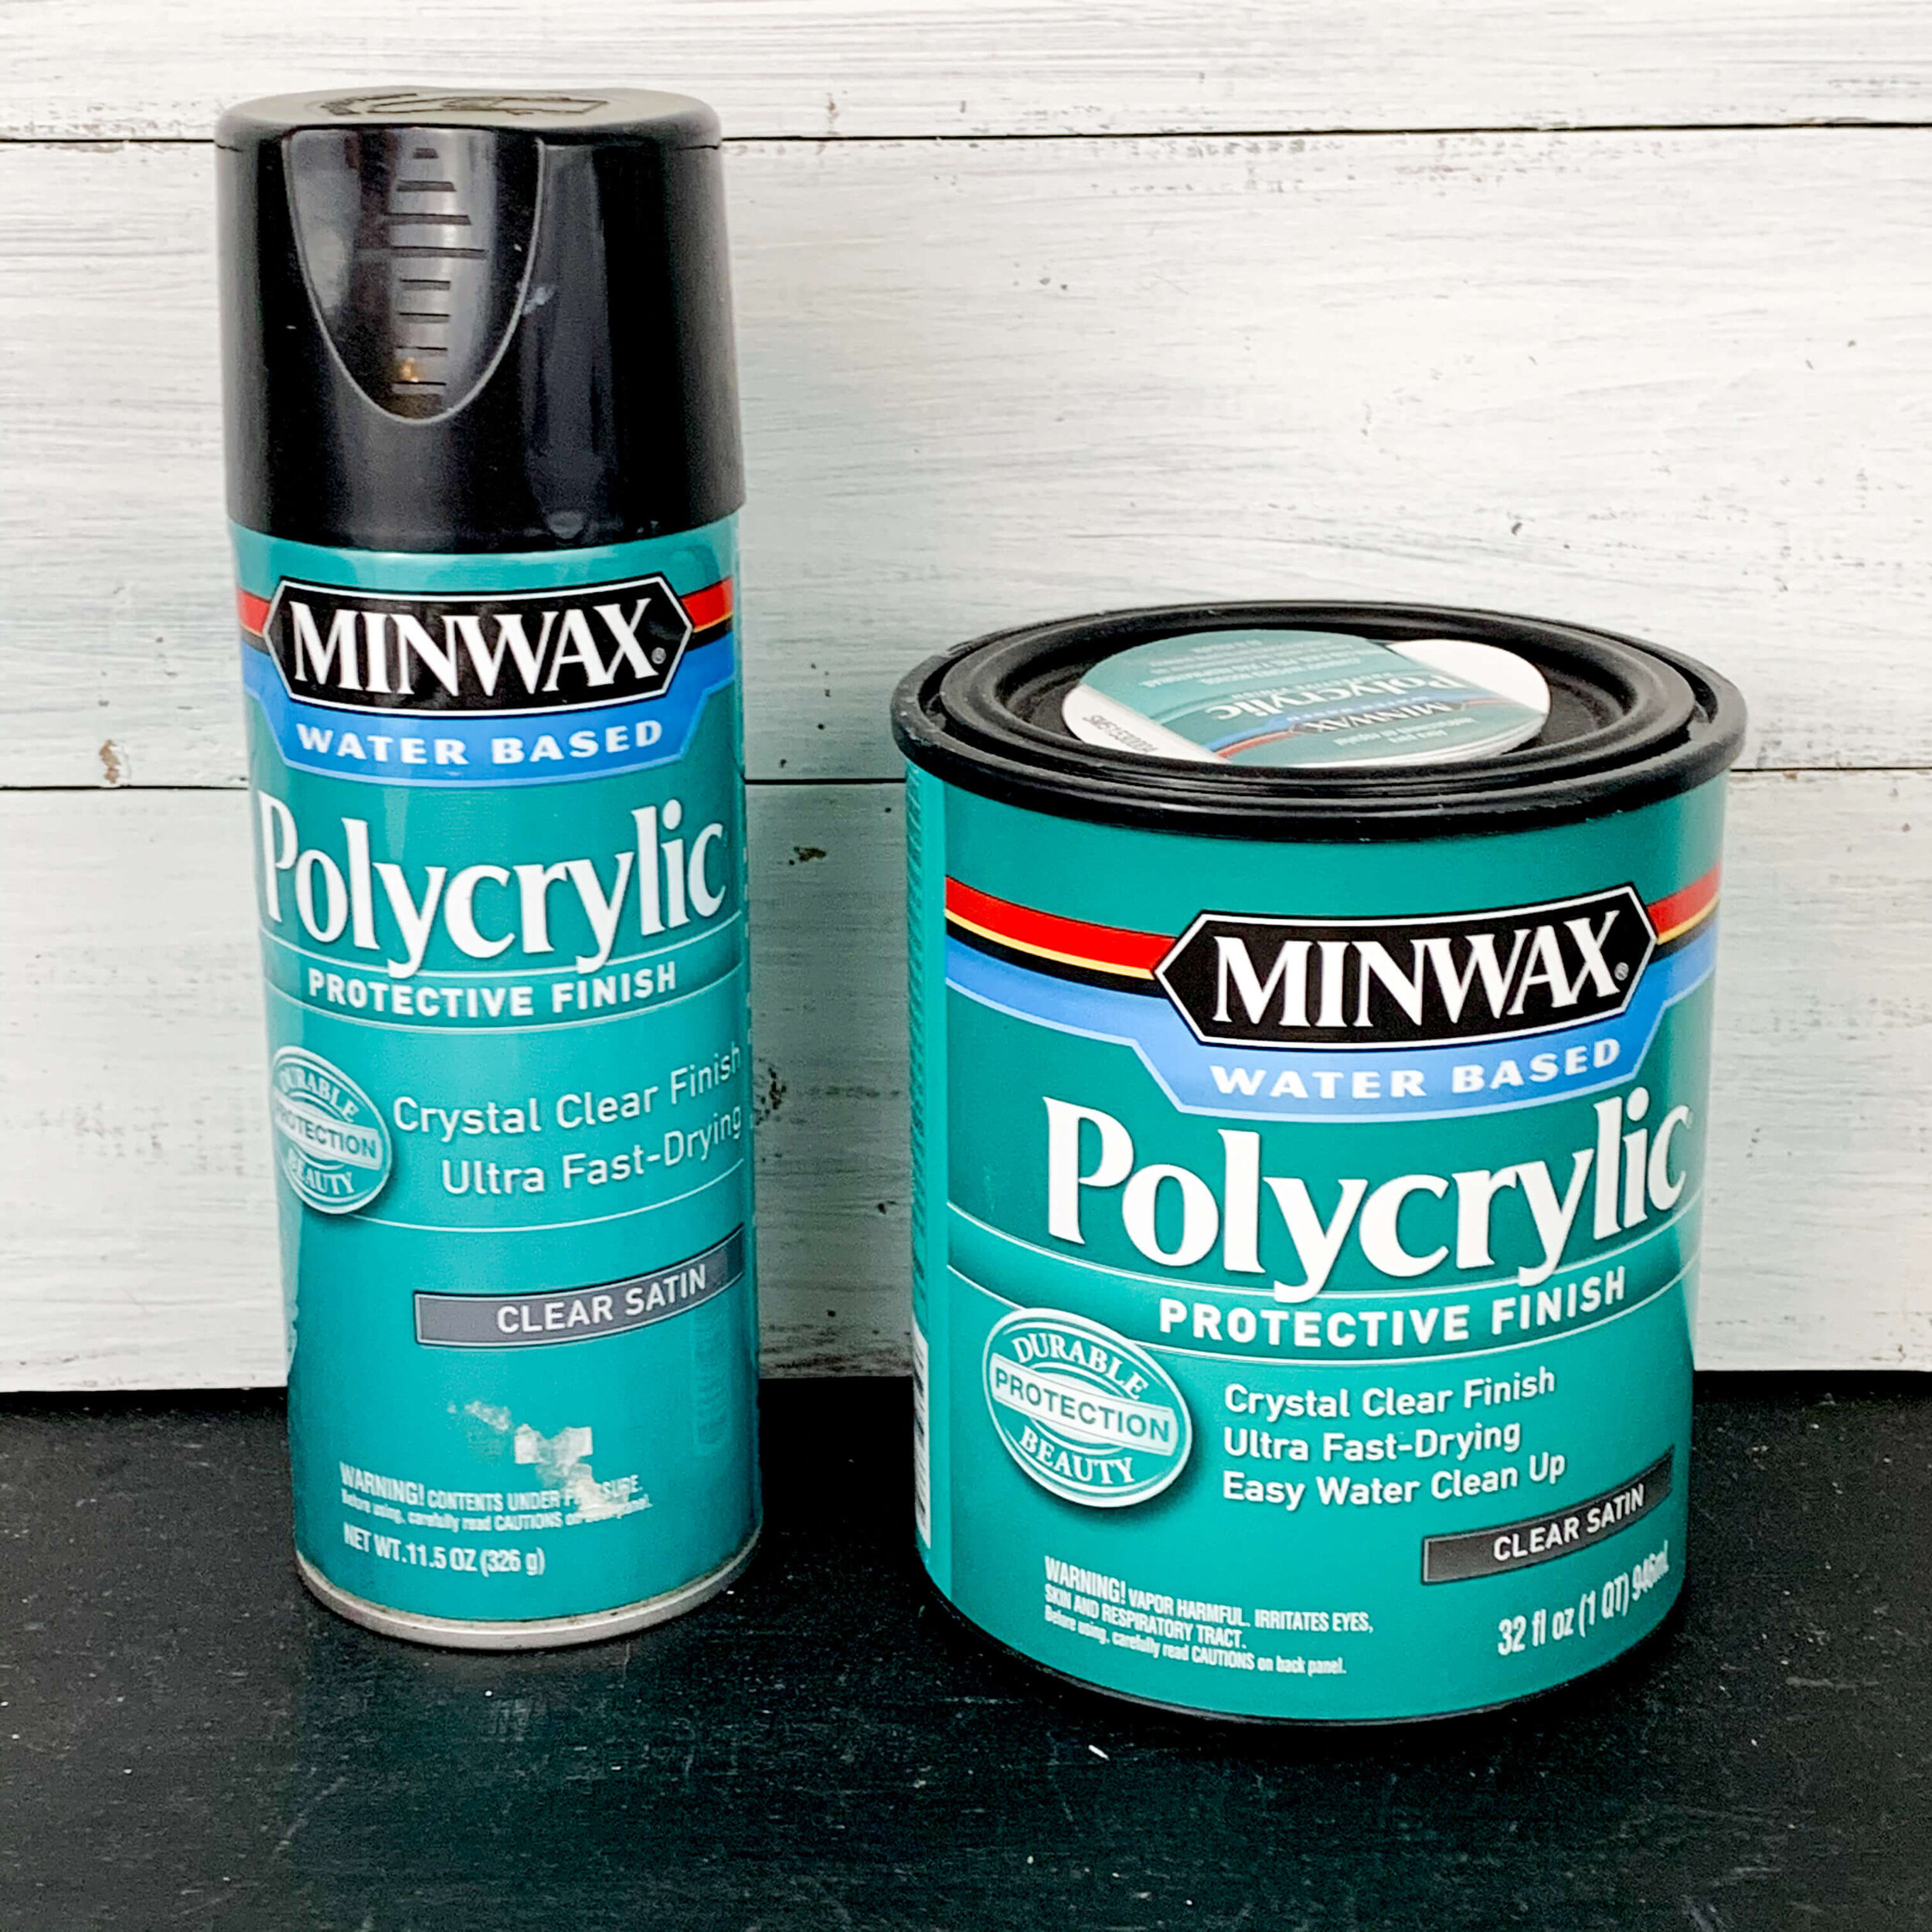
5. Seal it. There are many sealers out there. Fast and simple? Use a spray sealer. If you like to brush it on then use polycrylic!
There are so many options for using this technique. Here are just a few I’ve done. Some sanded some not. There really is no limit to the projects that you can use the stain with paint method on!
Mostly I use it for frames in my sign making business, Blue Daisy Dreamer, but I’ve also used it on old furniture and even a mirror frame! Finding something old at a sale (or even in the trash!) and making it new again is a special kind of joy for a maker!
What to read next


