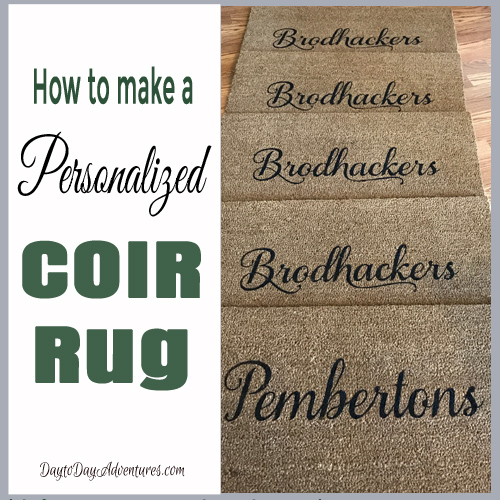
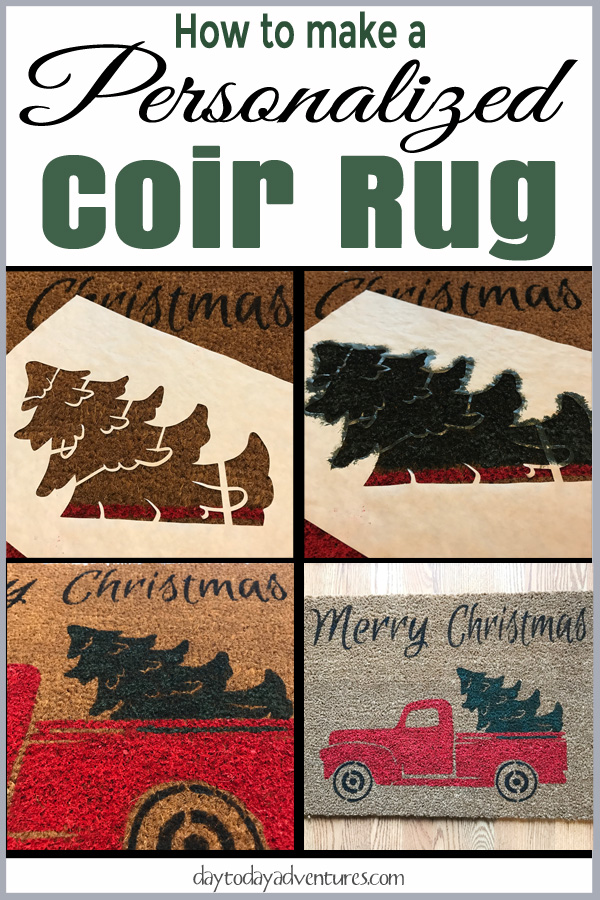
I have a new adventure that I want to tell you about it!!! Normally I am talking all about how to make rag rugs but today I can't wait to share the steps on how to make a Personalized Coir Rug. It's an easy fun project that can be made for a unique Christmas or housewarming gift!
We have homeschooled for years but we are now down to just one left in high school. That means this momma has a little more free time and I’m looking ahead to what the next “job” is for me. I’ve always loved creating crochet, scrapbooking, and sewing projects. I’ve often wondered if there is a way to earn some income using crafting skills that I've learned.
This article contains affiliate links. I earn a small commission on sales made through my links. It does not change your price at all. I only promote products I love and any sales I make help me to create valuable content that stays free to you.
Over the summer I discovered there was! I made some personalized items for my home and then after some encouragement from a friend I stepped out of my comfort zone and started selling them on Facebook.
These buckets were a HUGE hit. Today my bucket has mums in it but they are almost done so I’m on the lookout for a small artificial Christmas tree to put in it. I love that it is functional decor that works for all seasons!
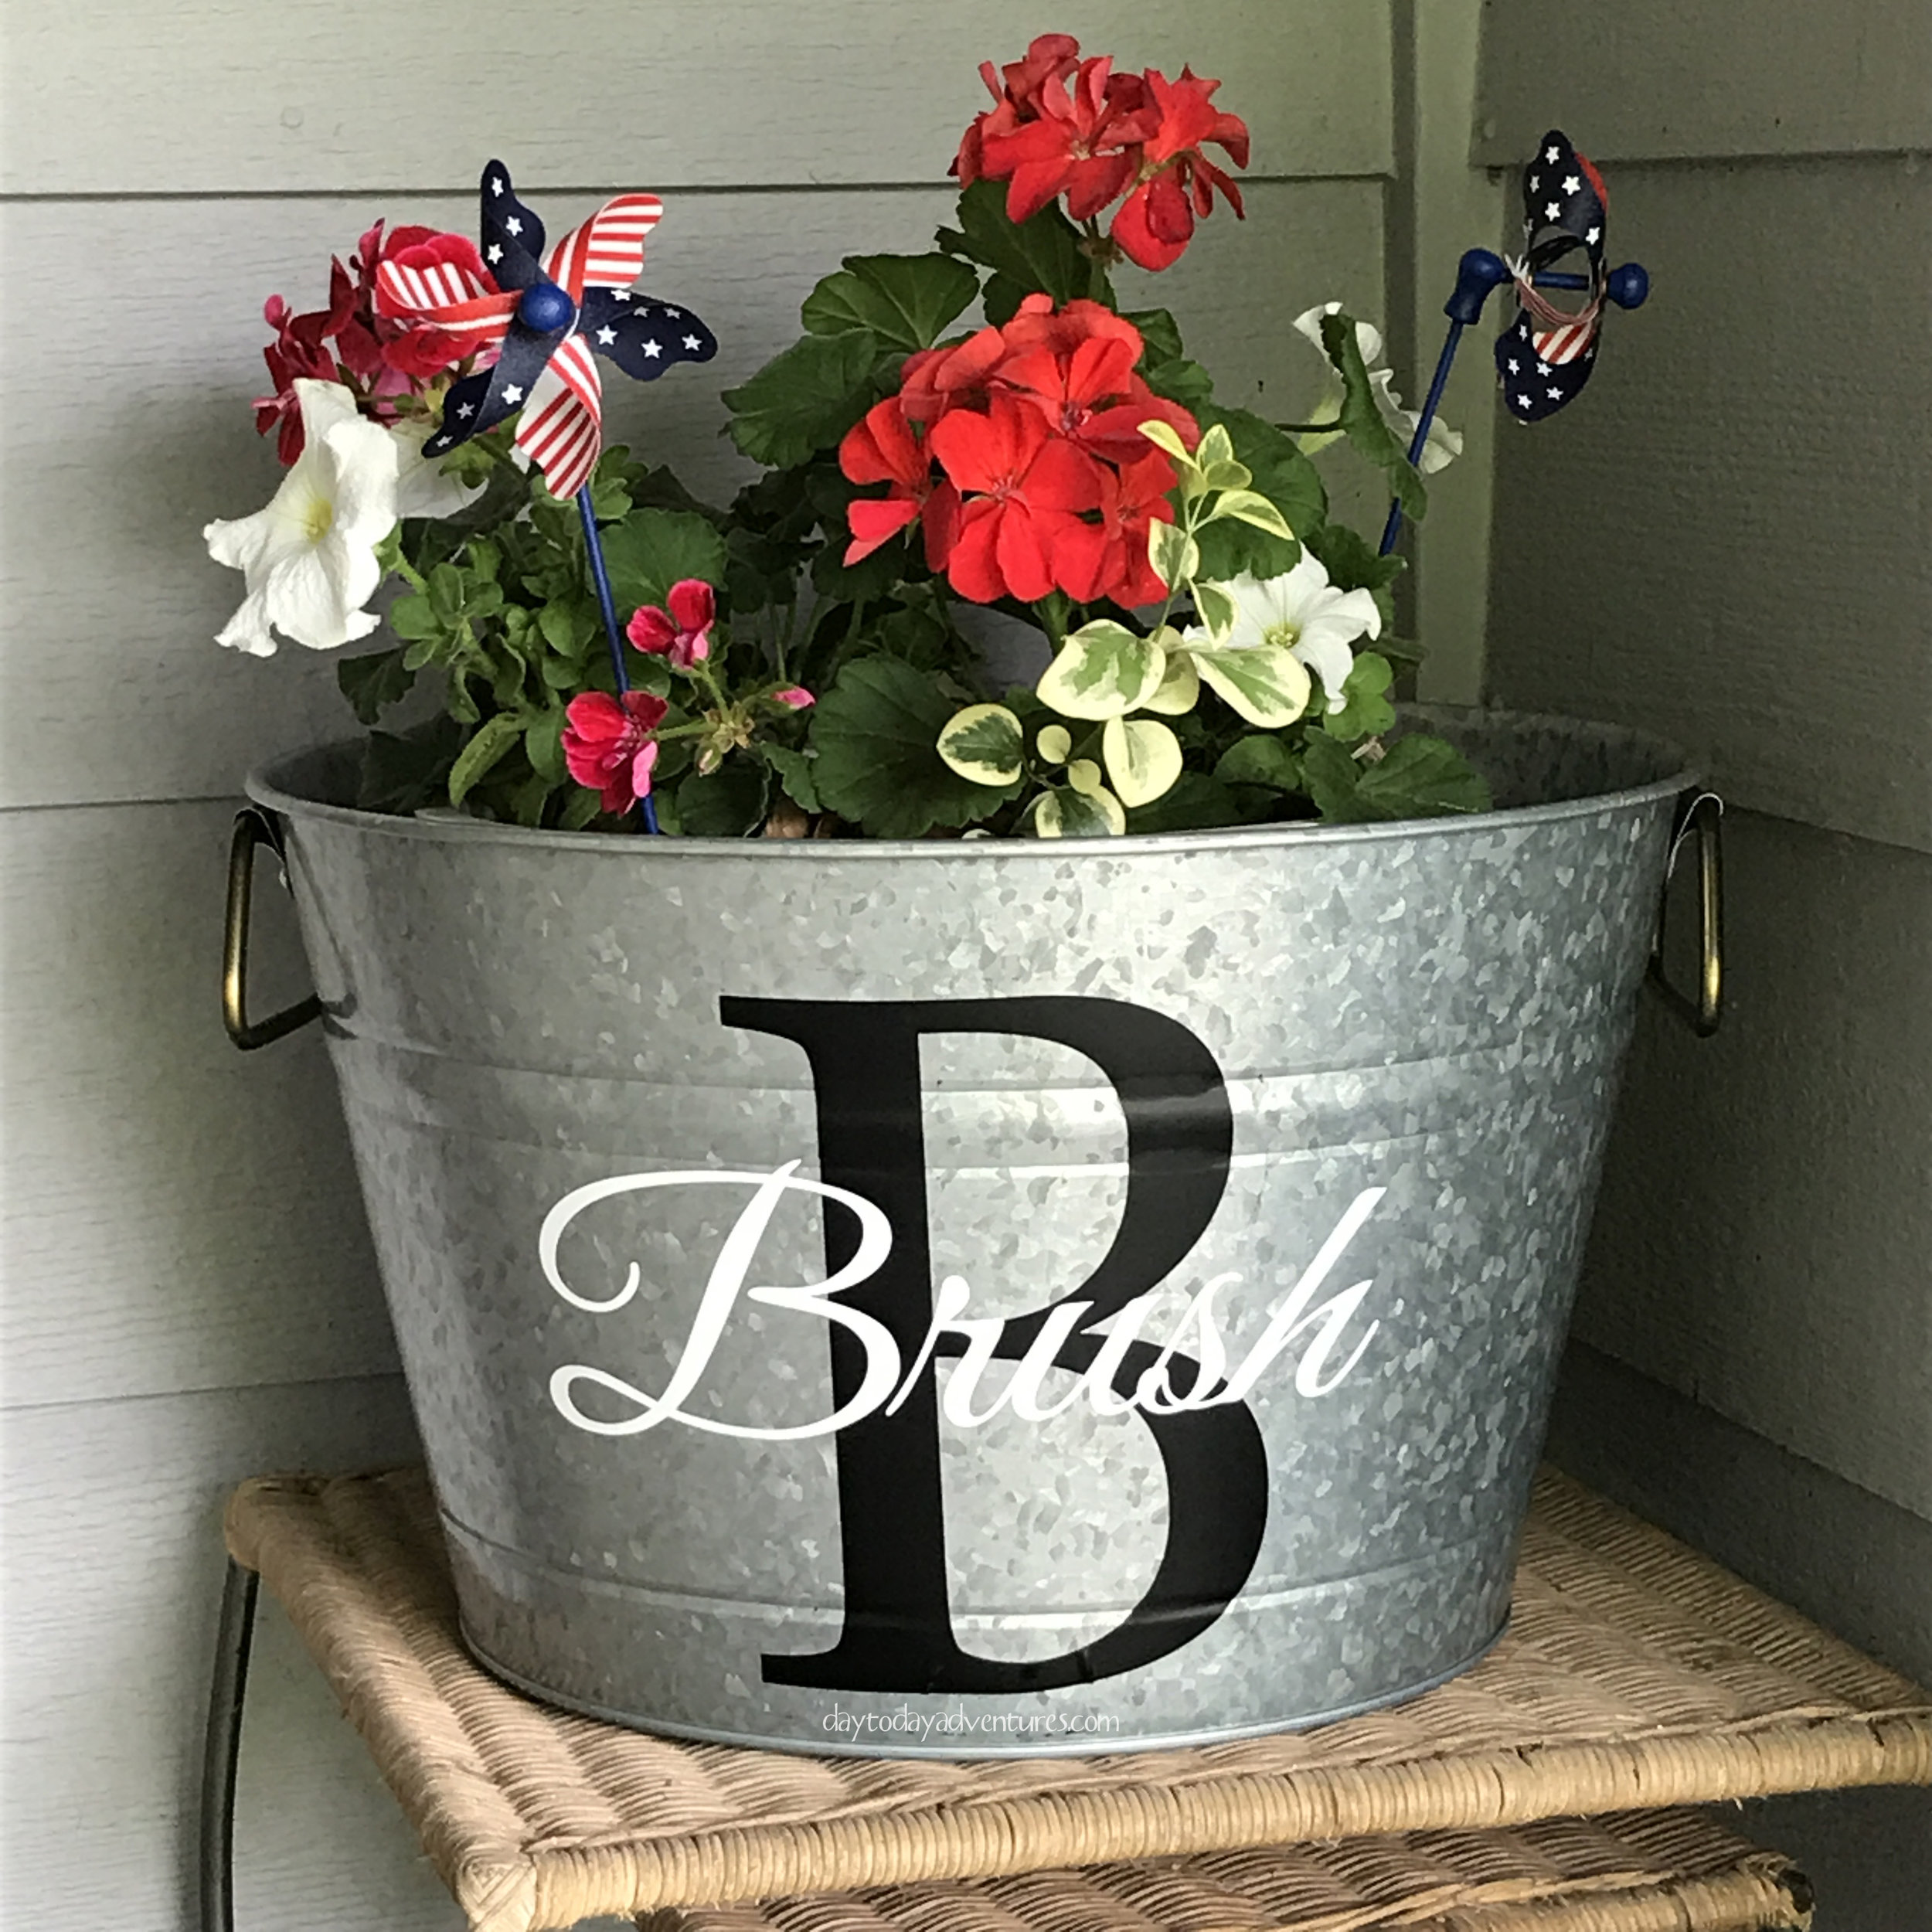
My friend Pam from P.S. I Love You Crafts has a great tutorial on how to put one of these together! Go check it out!
The main tools that I’m using for this new small business are my laptop and my Silhouette Cameo I love the ability to use the fonts that I’ve downloaded for free(don’t ask me how many I have) and the trace feature that allows me to find a shape and trace it for cutting. I also love that I don't need to have access to the internet to use the software.
Another option for cutting vinyl is the Cricut Explore Air™ 2 machine (that's what my friend Pam uses). I used a Cricut for years but decided that the Silhouette just suited my needs better.
Want to see how it all works?
Personalized Coir rug tutorial
Materials
- Silhouette or Cricut Explore Air™ 2 machine
- Coir Rug found at Home Depot, Ikea, Target etc.
- Freezer Paper
- Stencil brush—you can use foam brushes but the stencil brush works MUCH better!
- Measuring tape
- Tacks
- Outdoor acrylic paint
1. Cut out words or images using freezer paper and Silhouette Cameo
Decide on what you want to stencil on your rug. Create the design on your machines software. To make the process a little easier modify the letters so that the centers are connected to the outside section of the stencil. It keeps them from floating around.
The SilhouetteSchoolblog.com has a great tutorial for how to modify your fonts for stencils. Don't worry about how it looks right now. We will fill in the gaps at the end!
Flip your words horizontally (mirror) on your computer design program before you cut!
(Don't ask me how many times I forget to do this!!!!)
When you place the freezer paper on your rug you will flip it which places the shiny side down on the rug. The shiny side is what "sticks" to your rug temporarily and makes it the perfect stencil material for this project.
Cut your freezer paper to the right size and place on your cutting mat. SHINY side up!!!
NOTE: I did mine in strips since I had some available. Freezer paper is wider than the 12-inch cutting mat for my machine. So I have strips left over a lot. Also, my rug is wider than 12 inches so it is convenient to do the words in strips and arrange them on the mat. Is used the large cutting mat (12 by 24 inches) to cut this stencil.
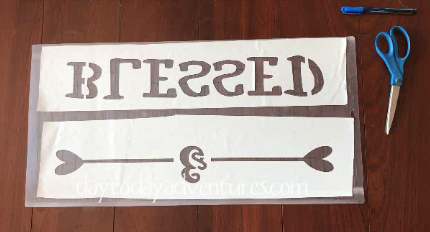
Load the mat into your machine and cut the design. For Silhouette users, you can use the Vellum setting for cutting. Weed out the words and images from the stencil.
Arrange freezer paper stencil on your Coir rug
Measure your rug and use a tack to mark the center on each side.
Measure your strips and mark the center of each line of words. Then arrange your strips by centering each strip horizontally using the tacks and marks on your freezer paper to go by. I arrange my strips vertically just by eyeballing it but you can measure it if you want. Be sure to read all the way to the end to see the video on how I did this part!
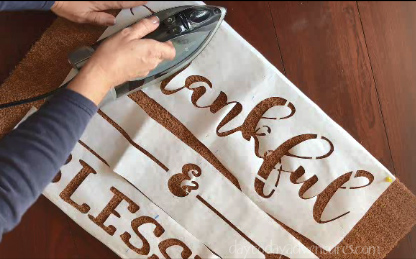
After your design is arranged then iron the freezer paper on to the rug. If you are doing several strips then you might want to just do one strip at a time.
The strips come loose as they cool. So by ironing them one at a time it means you that you won't need to iron it again as they cool.
Paint the stencil on the rug
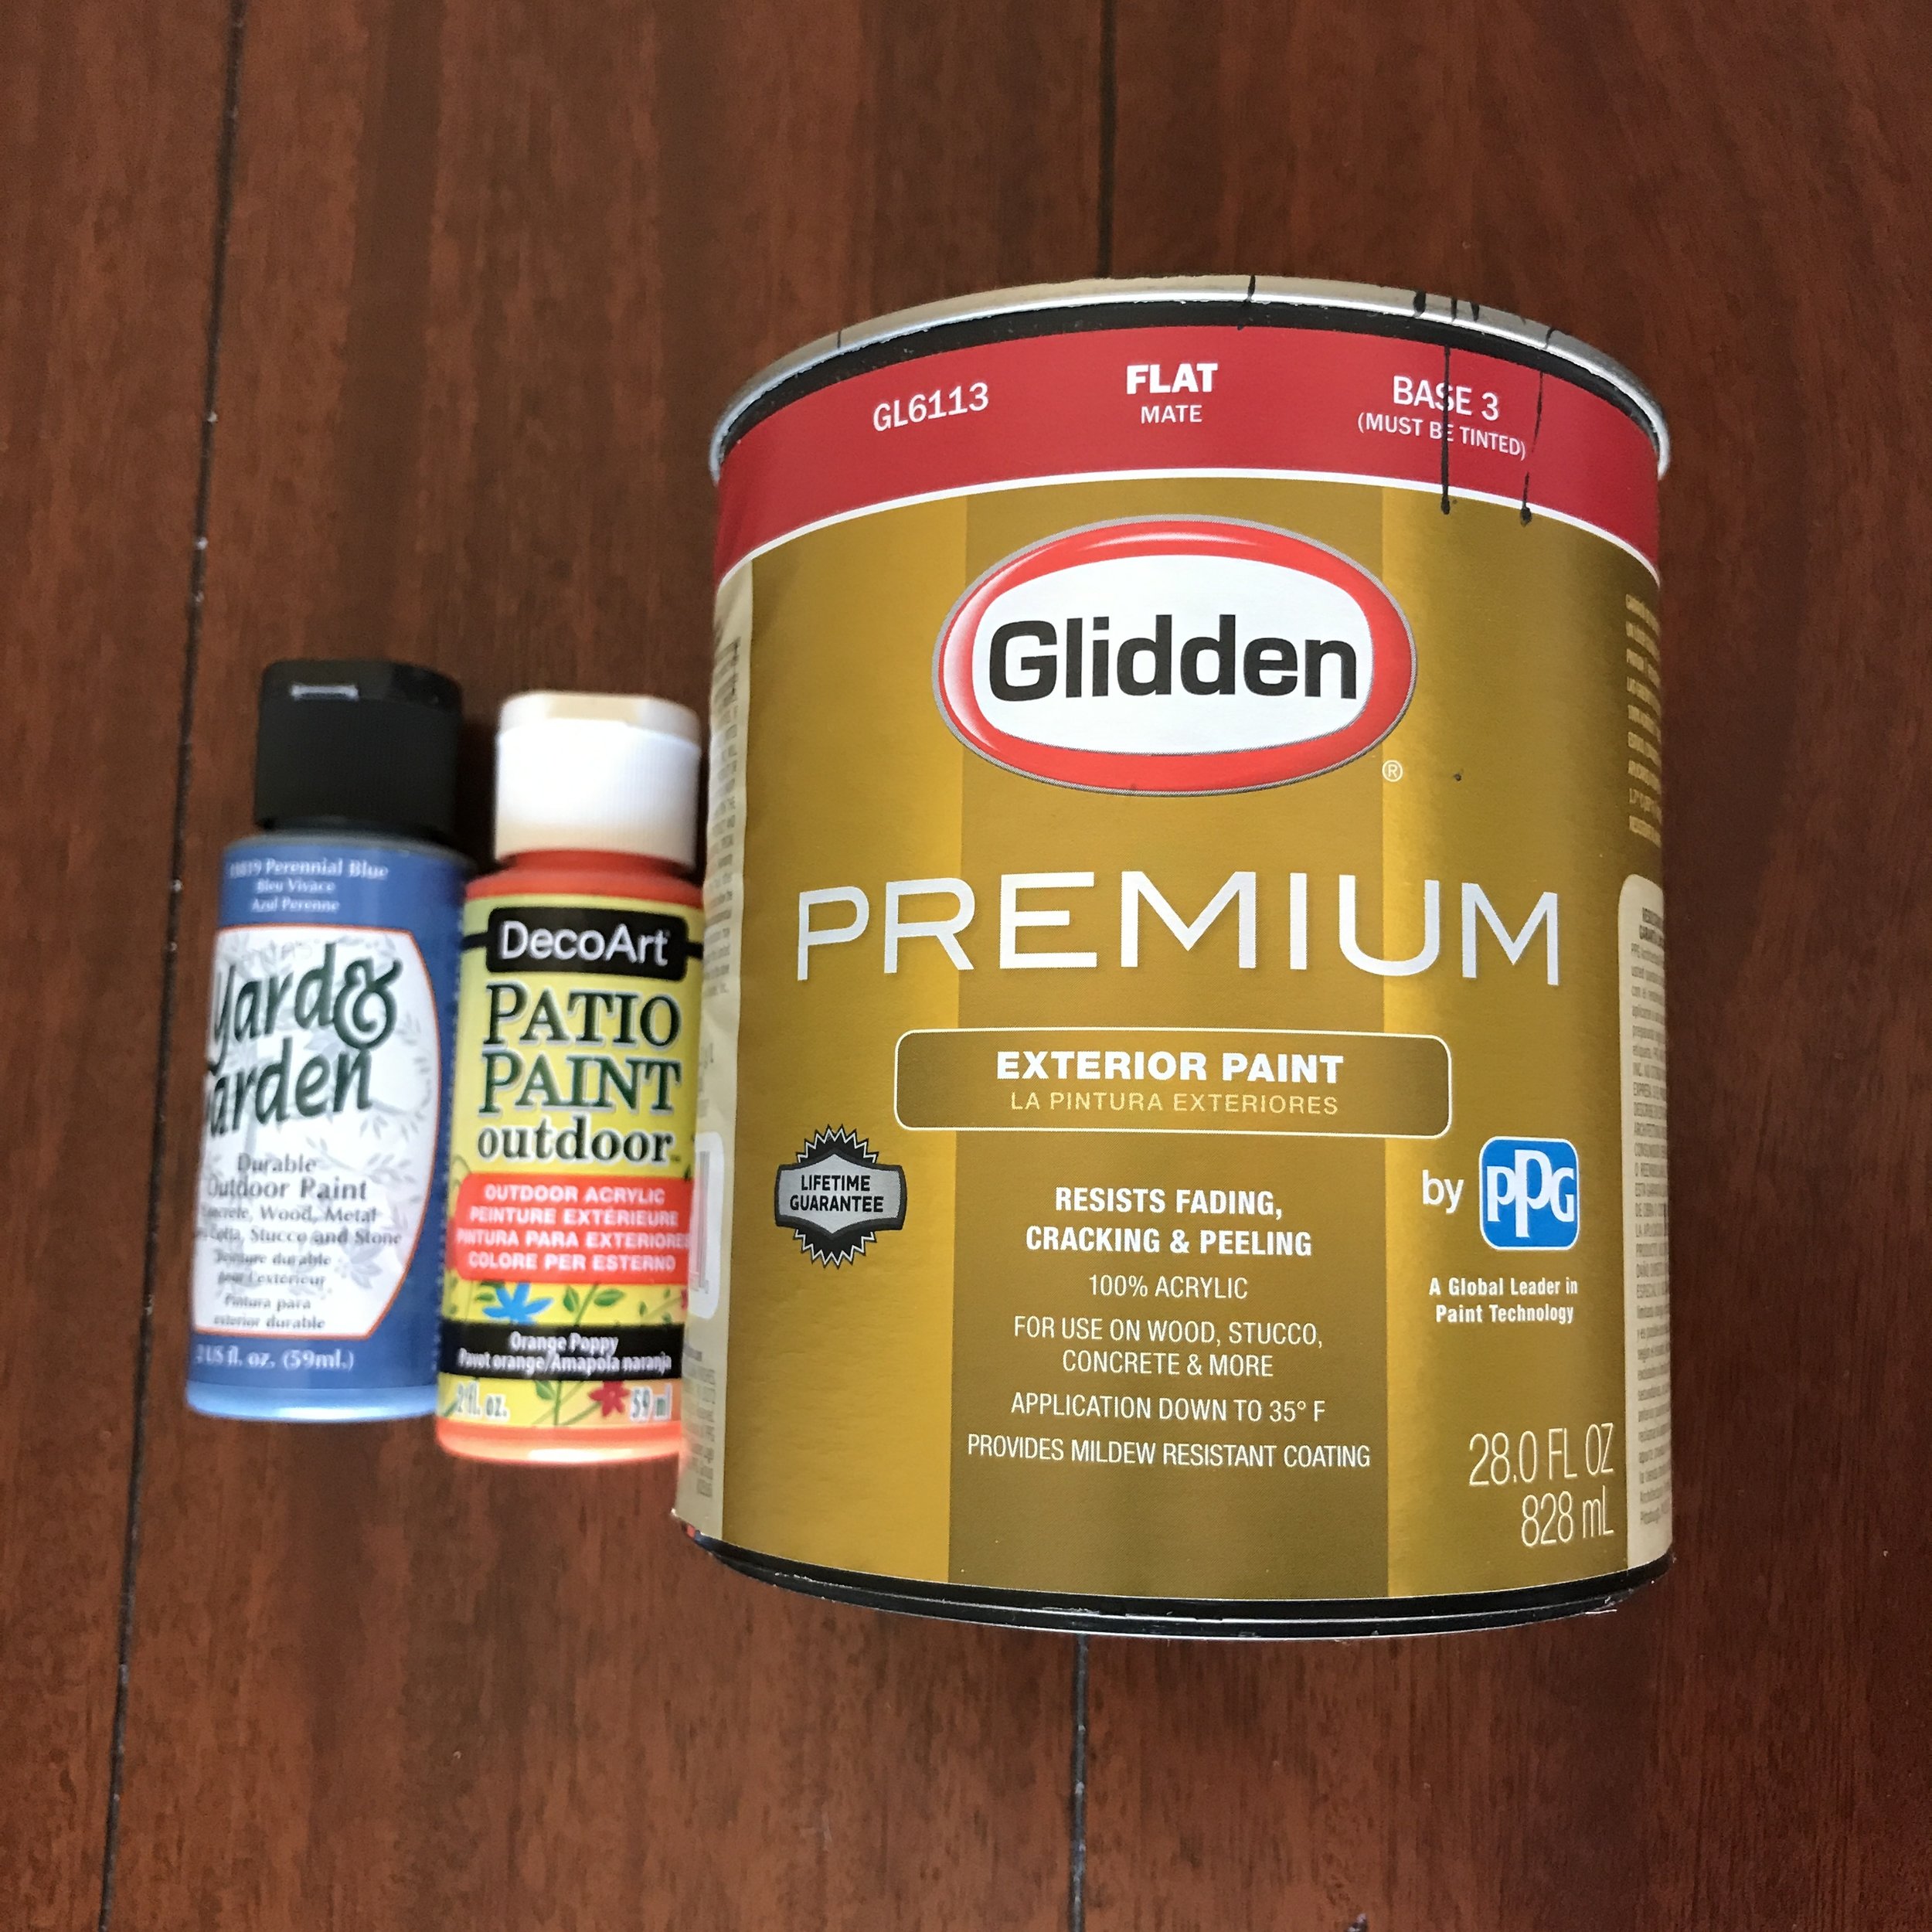
Use your stencil brush and outdoor acrylic paint to paint the stencil. I've used all of these kinds. I prefer the Glidden as it is thicker and fills in the stencil better. Getting a quart of paint also saves money if you are going to be doing a lot of rugs.
Hold the stencil with your hand if it starts to wiggle around.
A stencil brush gets the paint deeper in the fibers of the rug. A sponge does ok but doesn’t go as deep.
Remove the freezer paper and repeat for each strip.
Fill in the cut-out sections from the stencil
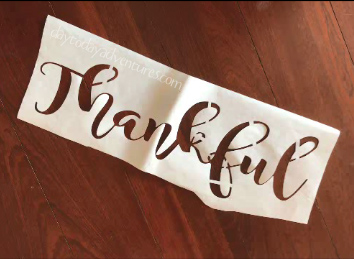
Because we wanted the centers of the letters attached we have some gaps to fill in with paint. This is also a great time to darken areas that you painted that didn’t get fully covered. I do this in the video because I used a sponge for "Thankful" and it didn't get as dark as "Blessed" which I did with a stencil brush.
Be careful not to get too much paint and drip on your rug. There really isn’t a fix for that.
Protect your rug from the weather and fading
After the paint has dried, it is good to protect the rug with a waterproof spray. I like to use Scotch Guard for the waterproofing and Krylon UV spray is good for preserving the colors of your rug.
That's it! Let me know how your rug making adventures turn out! Tag Daytodayadventures on Instagram, Facebook or shoot me an email at kim_brush@daytodayadventures dot com!
Want to do this later? Pin it NOW!
Recent Posts