

You know that stash of craft supplies that you never use? Maybe you bought them when the ideas were flying and you really mean to get to it but never had the time? Yeah me too! I had a little time to do some crafting so I knew that I wanted to use some of my sad neglected supplies out my stash to make these sparkly spring bunny signs!
I had the paint, canvas and glitter just waiting for a project! I bet that you do to!
This post contains affiliate links. If you make a purchase after clicking one of these links, I will receive a small commission at no additional cost to you.
Supplies that you need to make your own painted sign!
- Paint—I used craft paint but you could use chalk paint or whatever you have
- Brushes
- Mod Podge—what good craft doesn’t use this??
- Contact Paper or vinyl (I'll give my opinion of these below)
- Weeding tool
- Wooden boards or canvas
- Silhouette, Cricut or any stencil—should I admit that I have all of three of these??
- An idea for your stencil!
I’ve got the desire to make some signs with my Silhouette Cameo and I just can’t seem to find the time! This was a great practice run but I really want to make some framed signs. I found that I don't like the canvas as well as wood because the stencils were hard to stick on. The canvas “gave” a little more than the wood so I couldn't rub hard enough to stick down the stencils. But it mostly worked.
I'm participating in Bling on the Spring Blog Hop with some of my crafty friends and below you will find all their sparkly spring craft ideas! Go check them out!

How to make a painted bunny sign
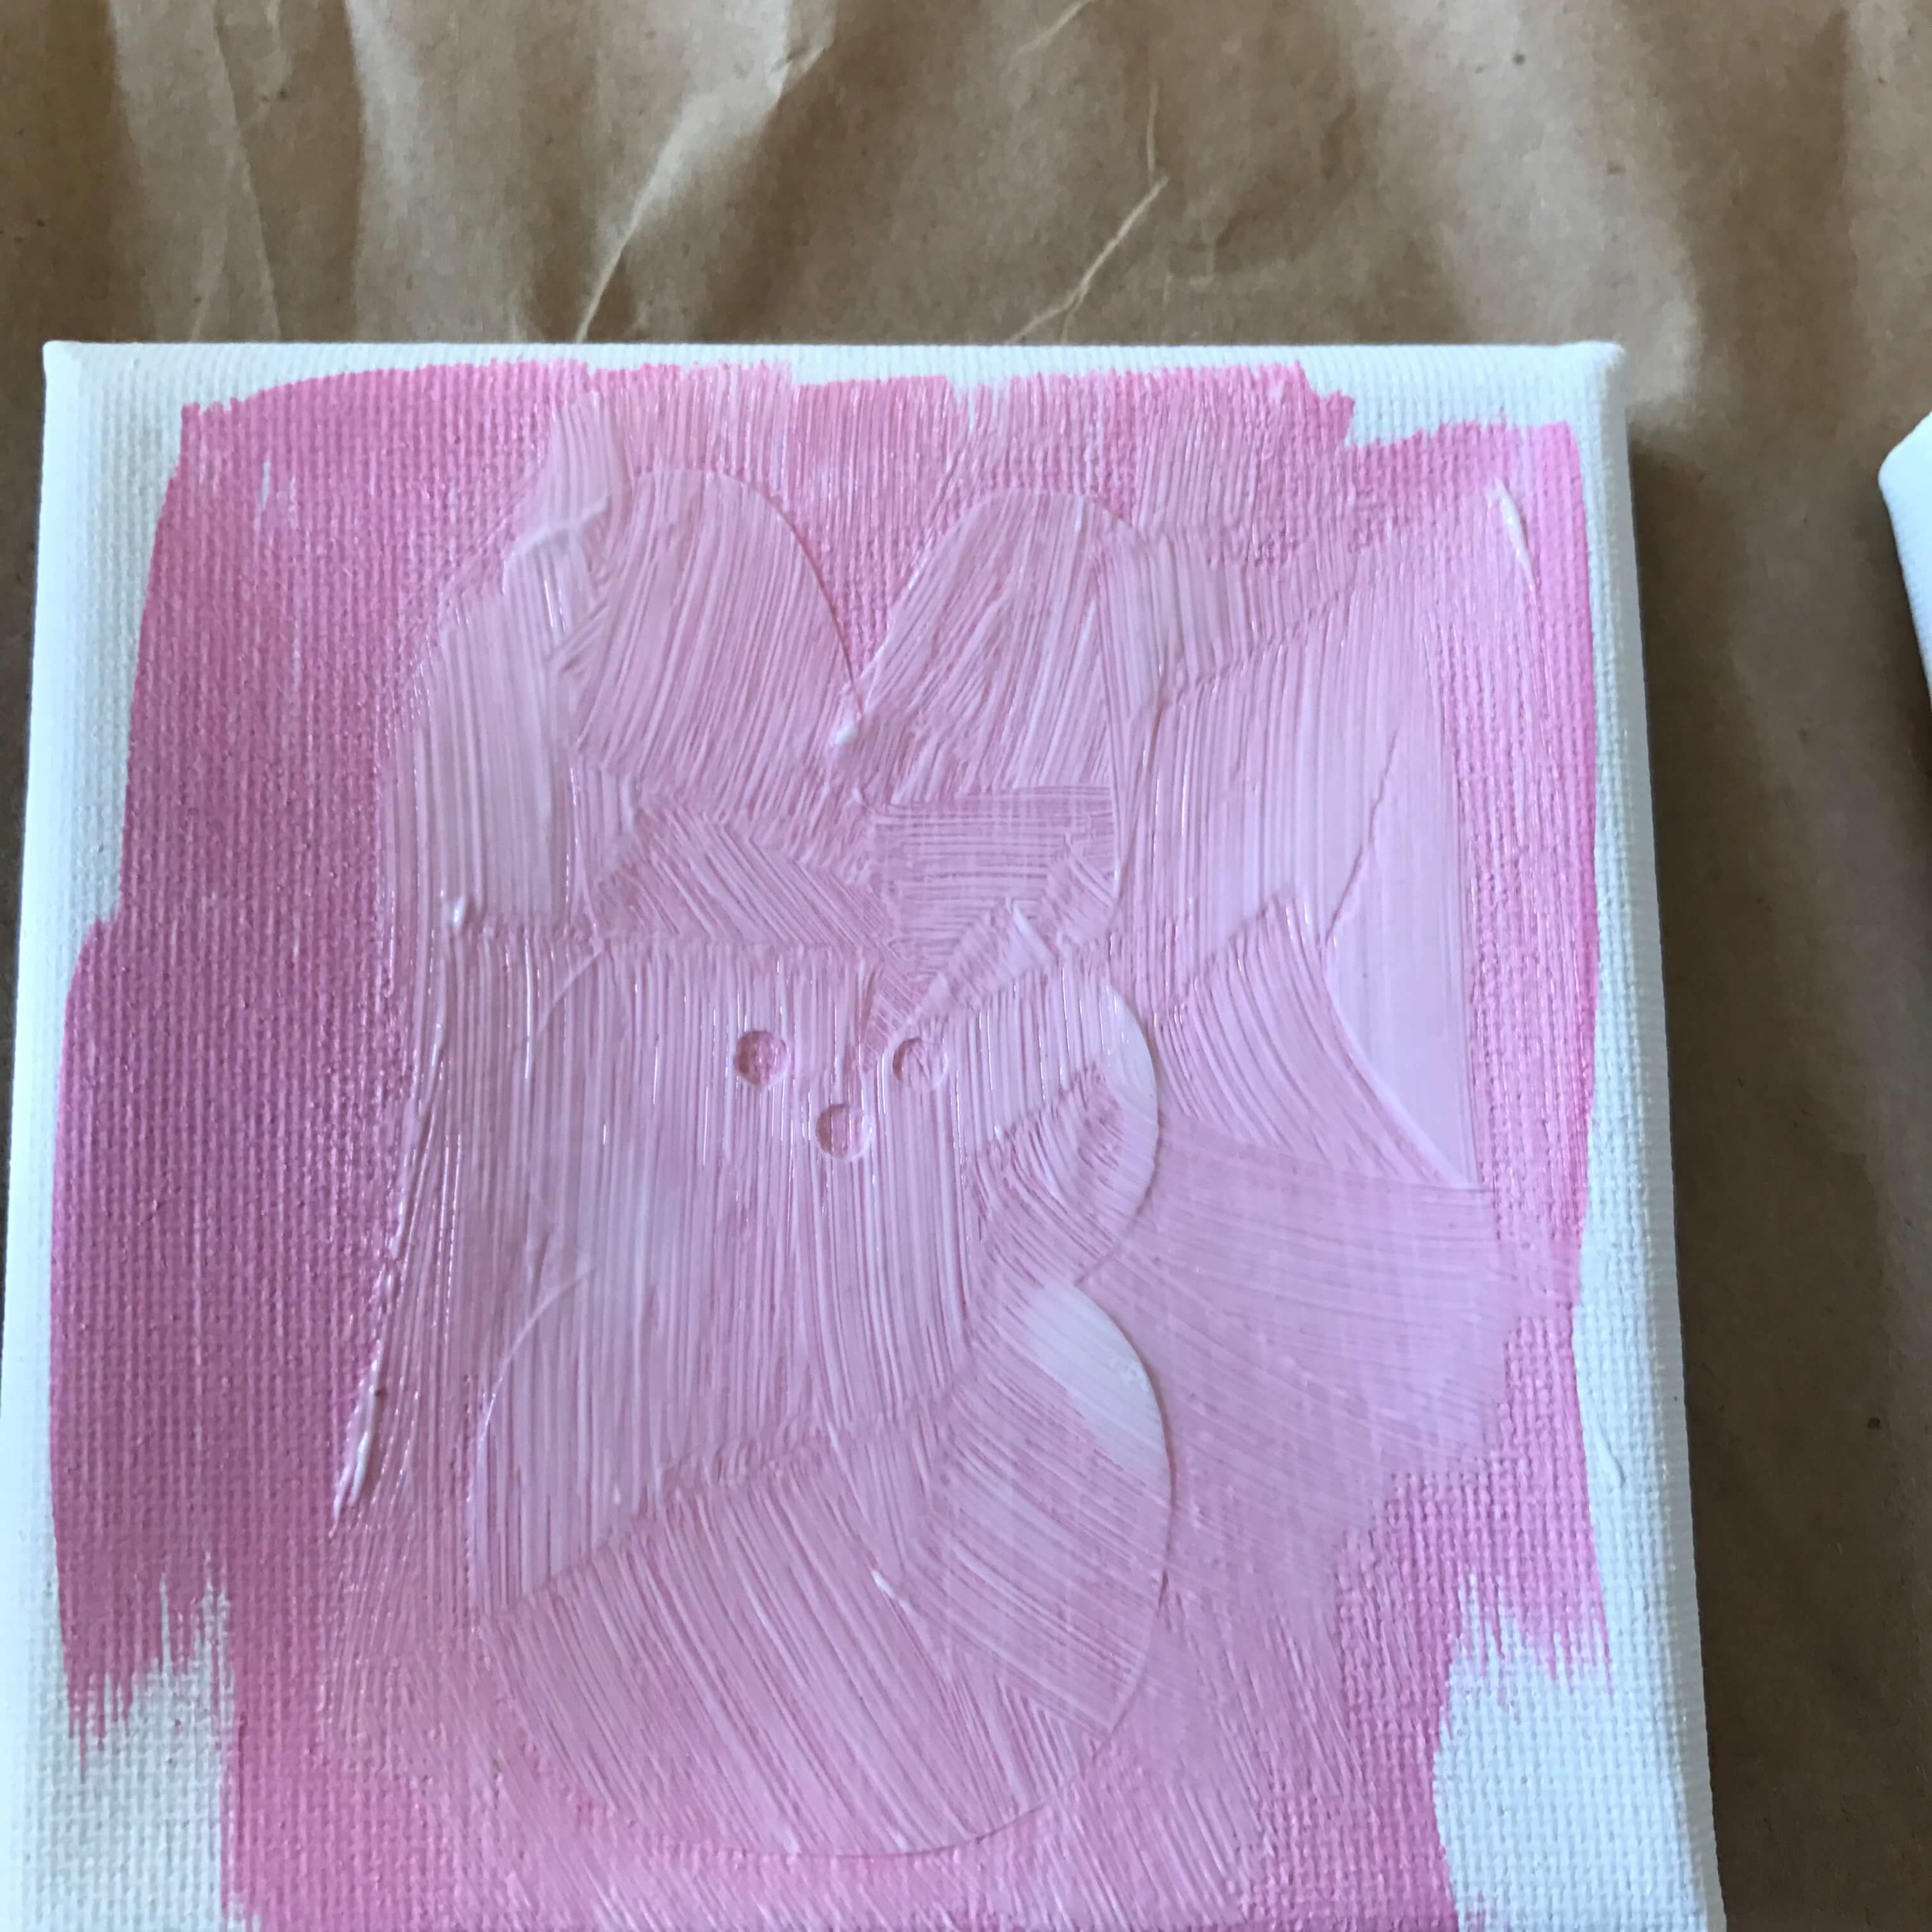
1. Paint your canvas or wood. Let it dry for 30 minutes minimum. You don't want it tacky.

2. While I waited I found these great free PNG files and downloaded them.

3. Cut out the stencils using Silhouette or Cricut and apply a stencil to the canvas or board.
Tip alert! I was worried about my paint bleeding under the stencils so I went searching for answers about WHY paint bleeds under a vinyl stencil. I decided to try the Mod Podge method which worked okay but I still had some bleeding. Probably because I was using canvas and not wood. The project turned out ok but I will try a different method next time!

4. Paint over the stencil with another color of paint. Let dry. Apply more coats until you are happy with how it covers. I needed to do 2 coats to cover my darker blue with white.

**If you are going to add some glitter then apply some Mod Podge to the area BEFORE you remove the stencil and add the glitter.**
I didn't do this and ended up with glitter on my bunnies but I'm ok with it. But you might not want sparkly bunnies.
5. Let everything dry. Then remove the stencil. Shake off the extra glitter over the trash.
Sadly we don't have a lot of spring decorations in the house. Once it warms up I tend to head outside and forget all about decorating inside. These were an easy craft to do and I LOVED using my Silhouette to make some new decor!

Enjoy the crafty spring hop!
What to read next