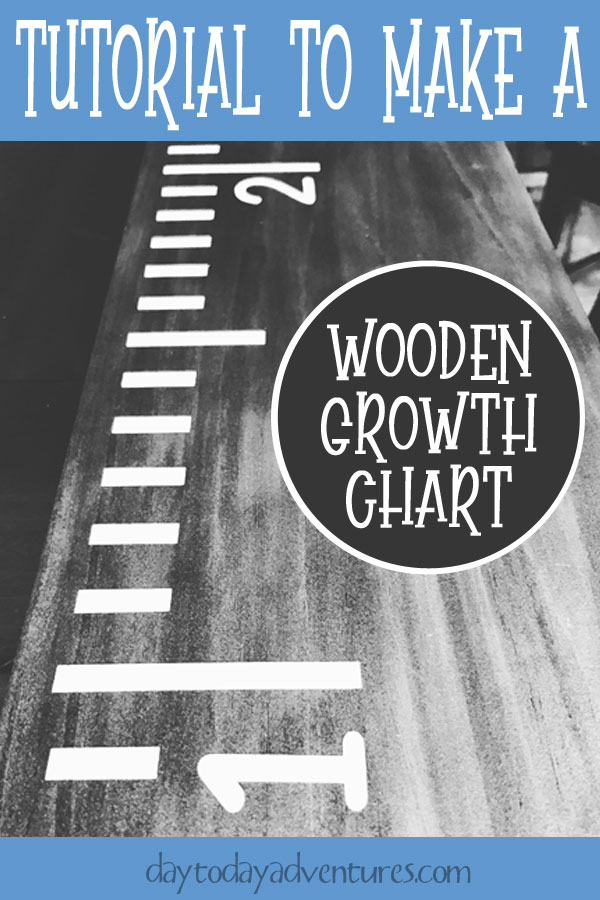
One of my favorite projects to make using my cutting machine is a growth chart! Did your parents or grandparents mark your height on the door frame? Growth charts are the modern equivalent and are perfect for families that don’t plan to live in one house forever!
I participate in the Amazon.com affiliates program. If you make a purchase after following one of my affiliate links (like the ones above) I earn a small commission, but it does not affect the price you pay. For more information please see my disclosure page.
Supplies needed
Stencil vinyl
Clear contact paper or Transfer tape
Paint or SharpieStain I love Espresso!
Silhouette Cameo or Cricut
Mod Podge Matte Finish
Exacto Knife
Matte Sealer
Screw Eyes from hardware store--I used 7/16 inch
Jute twine
Steps to make a 6 foot growth chart
Sand the board
The smoother the board the better your stencil material will stick and keep bleeds from happening. I can’t emphasize this enough! Start with a coarse sand paper and then sand some more with a finer grit to get it super smooth!

Stain or paint your board
Either works great! Staining takes longer and looks amazing. Paint goes fast and you can choose ANY color! Let it dry completely.
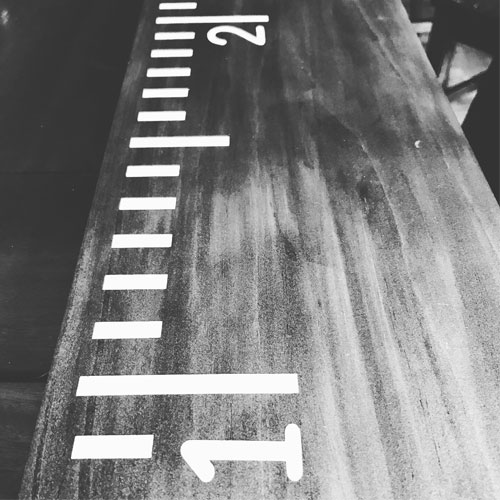
Design your Stencil
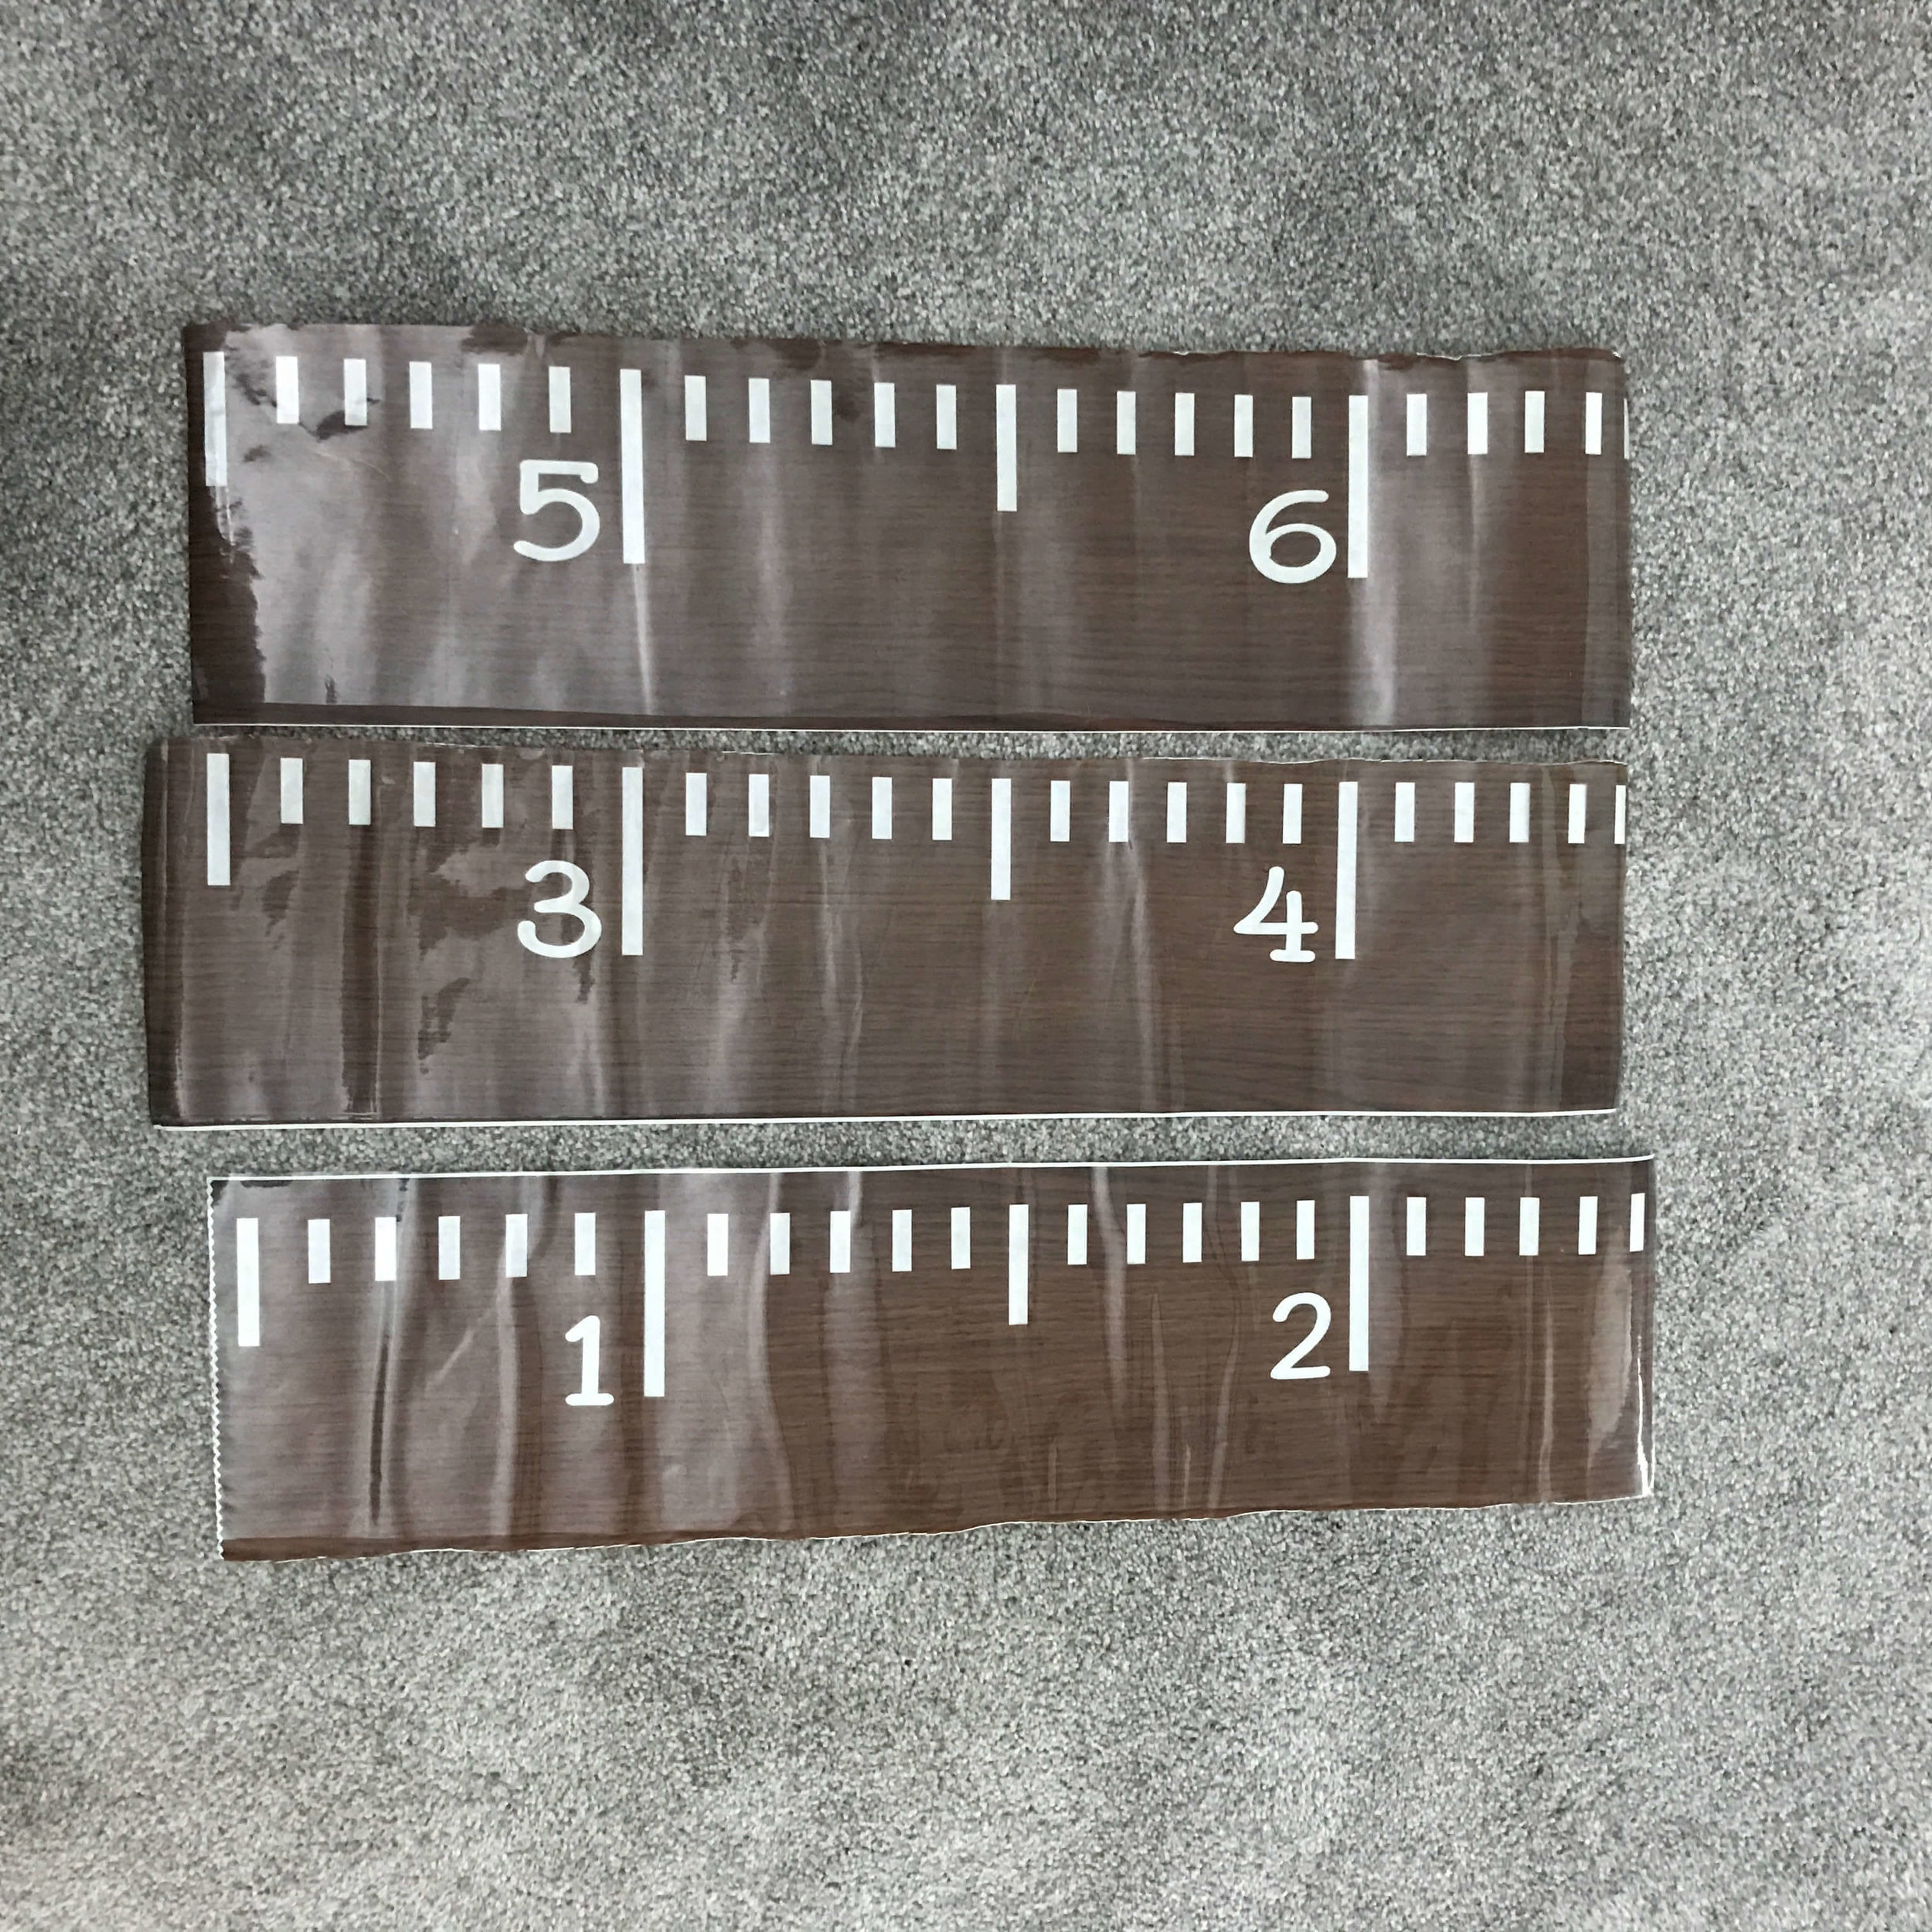
Using rectangles and the measurements in your cutting machine’s design software create a “ruler” that can be cut by your machine! I’m designing one to share right now and hope to have it available for you SOON!
Cut your stencil
You can use stencil vinyl (or a cheaper option is to use contact paper. That’s what I do!) I like to cut my stencil in 3 pieces so that it’s not so bulky to place. Remove the parts of the stencil where you want the paint to go on the board. I like to use tweezers to pull those pieces off.
Apply Transfer Tape
Here’s where the sticky part starts. I LOVE transfer tape for this because the kind I use has a grid on it and that helps get the stencil on straight. You can use more contact paper to apply the stencil but I recommend the clear kind so you can see if it is straight. My photos do not have the tap on the stencils to make it easier to see the process.
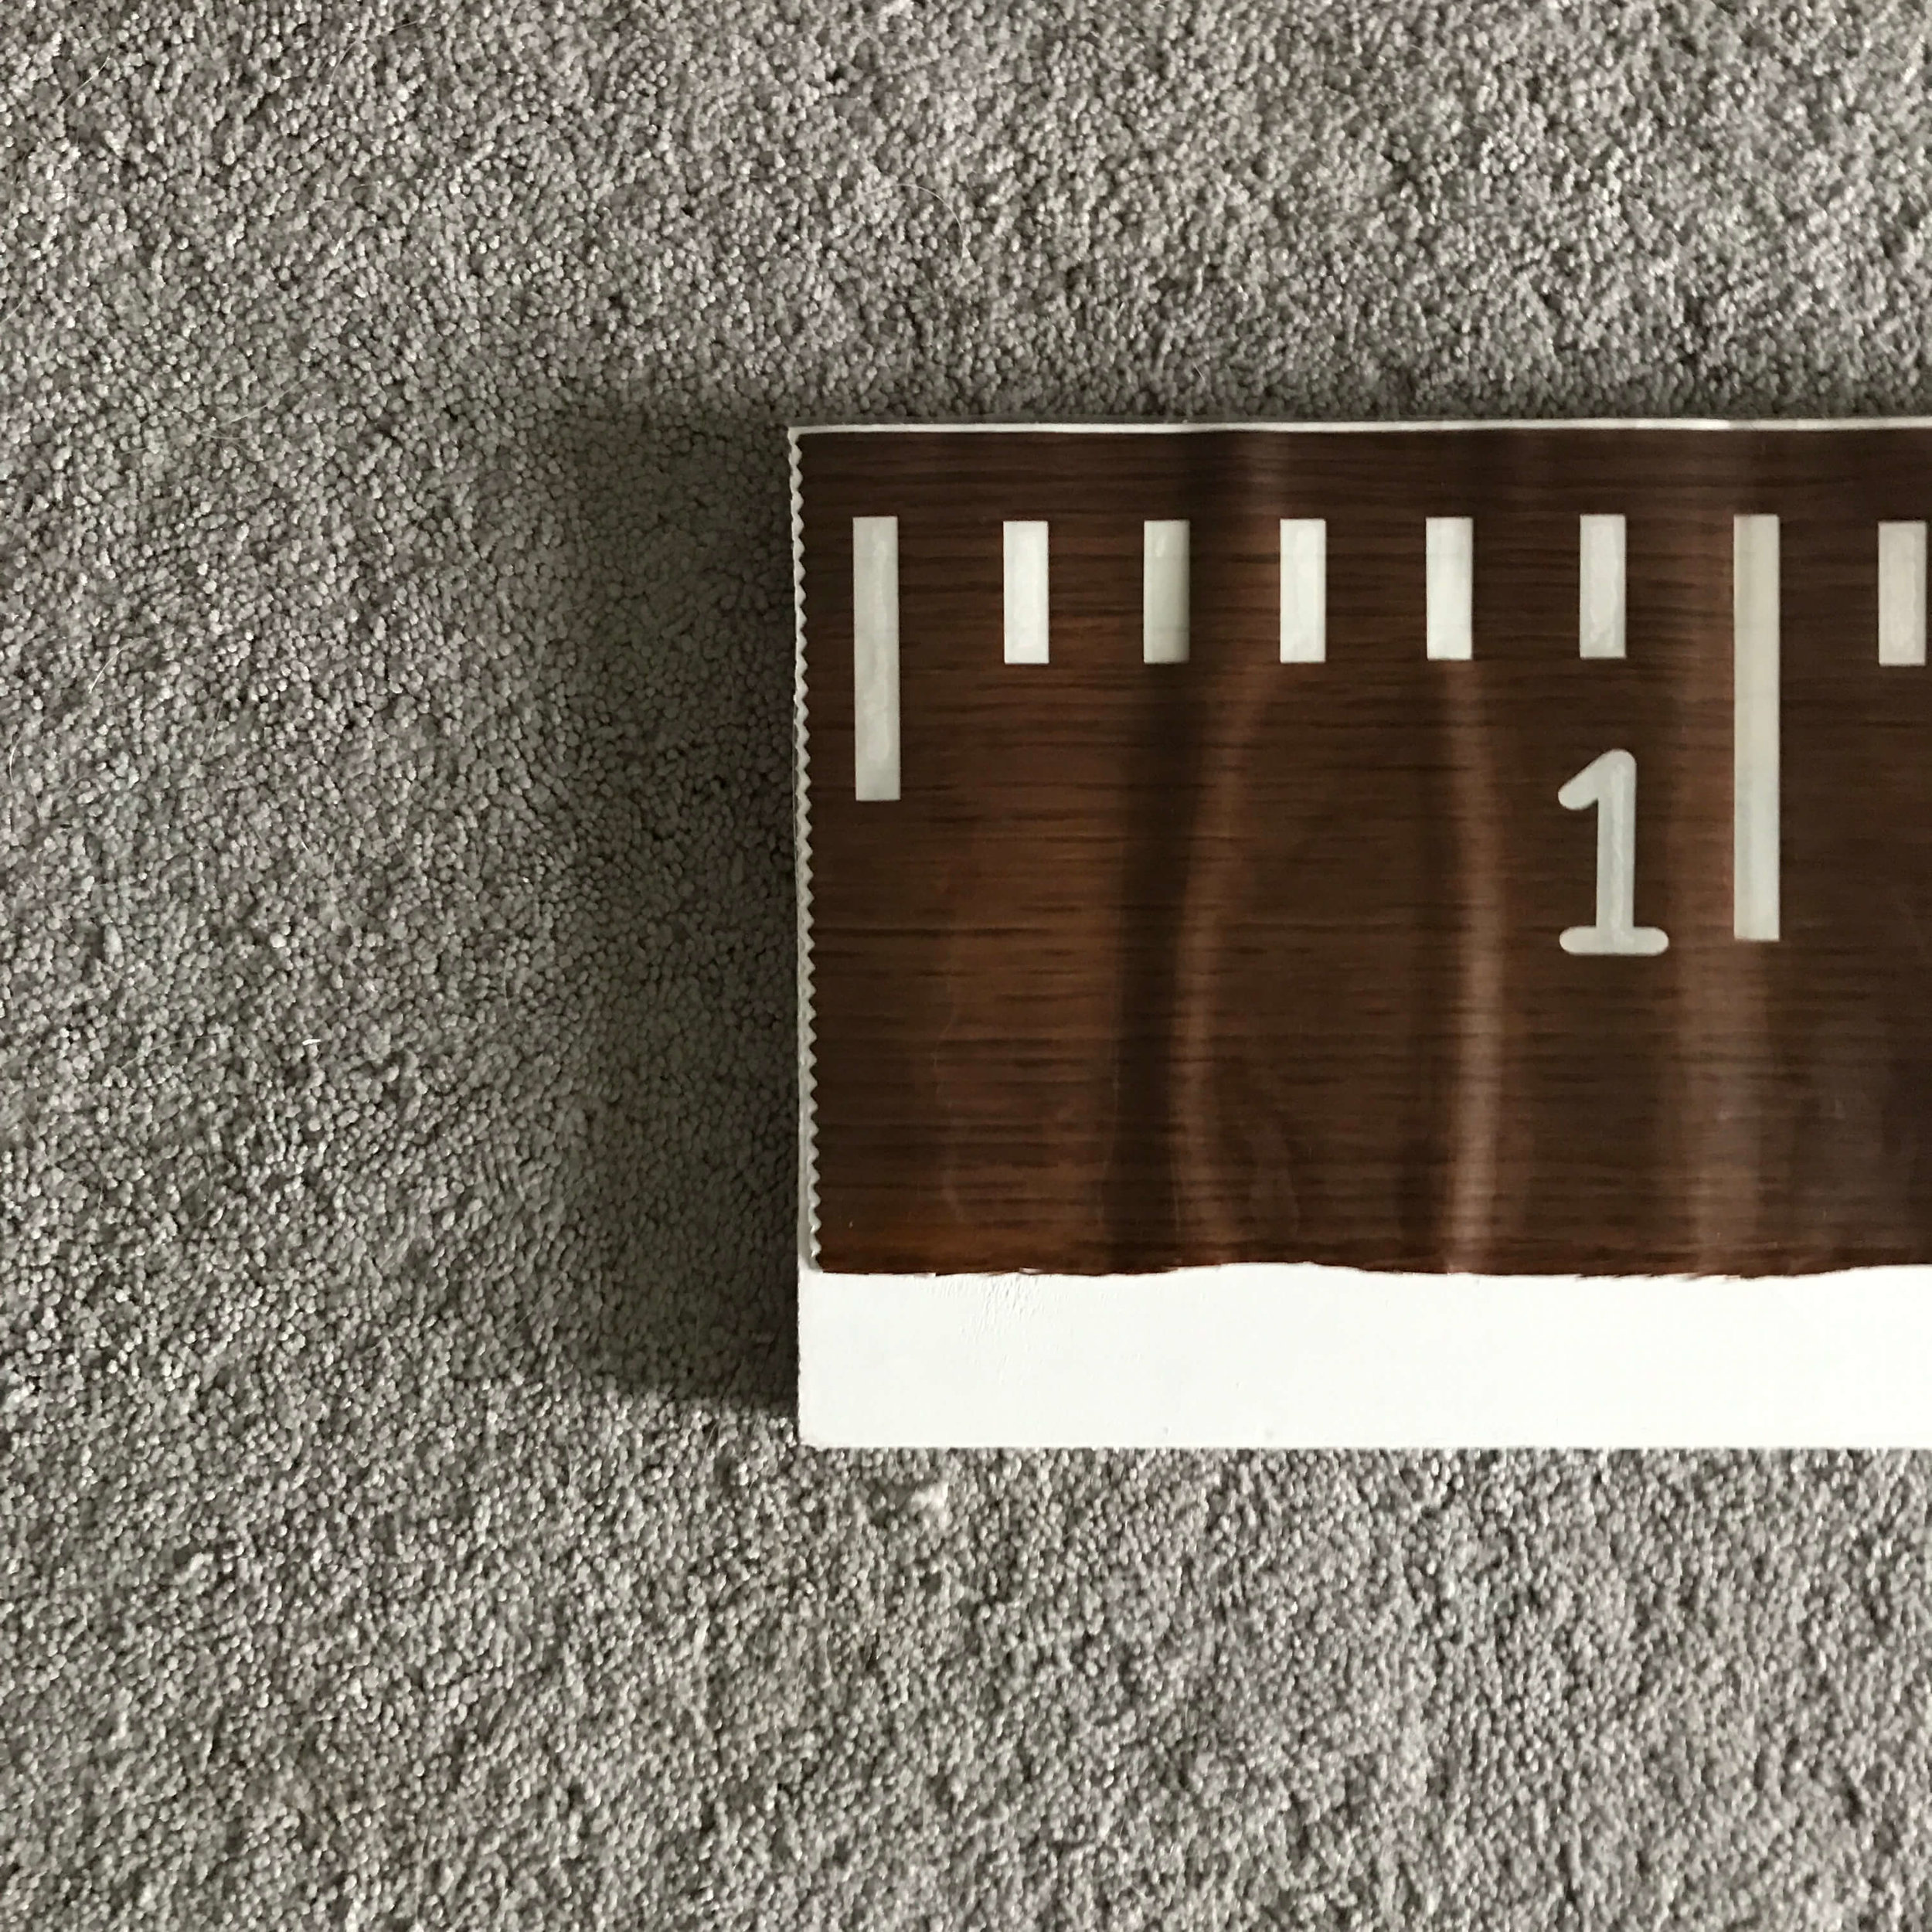
Place your stencil on the board
Make sure to measure how far the stencil is from the edge and place each section that far from the edge. Also make sure the sections match up so that the inch measurements are accurate.

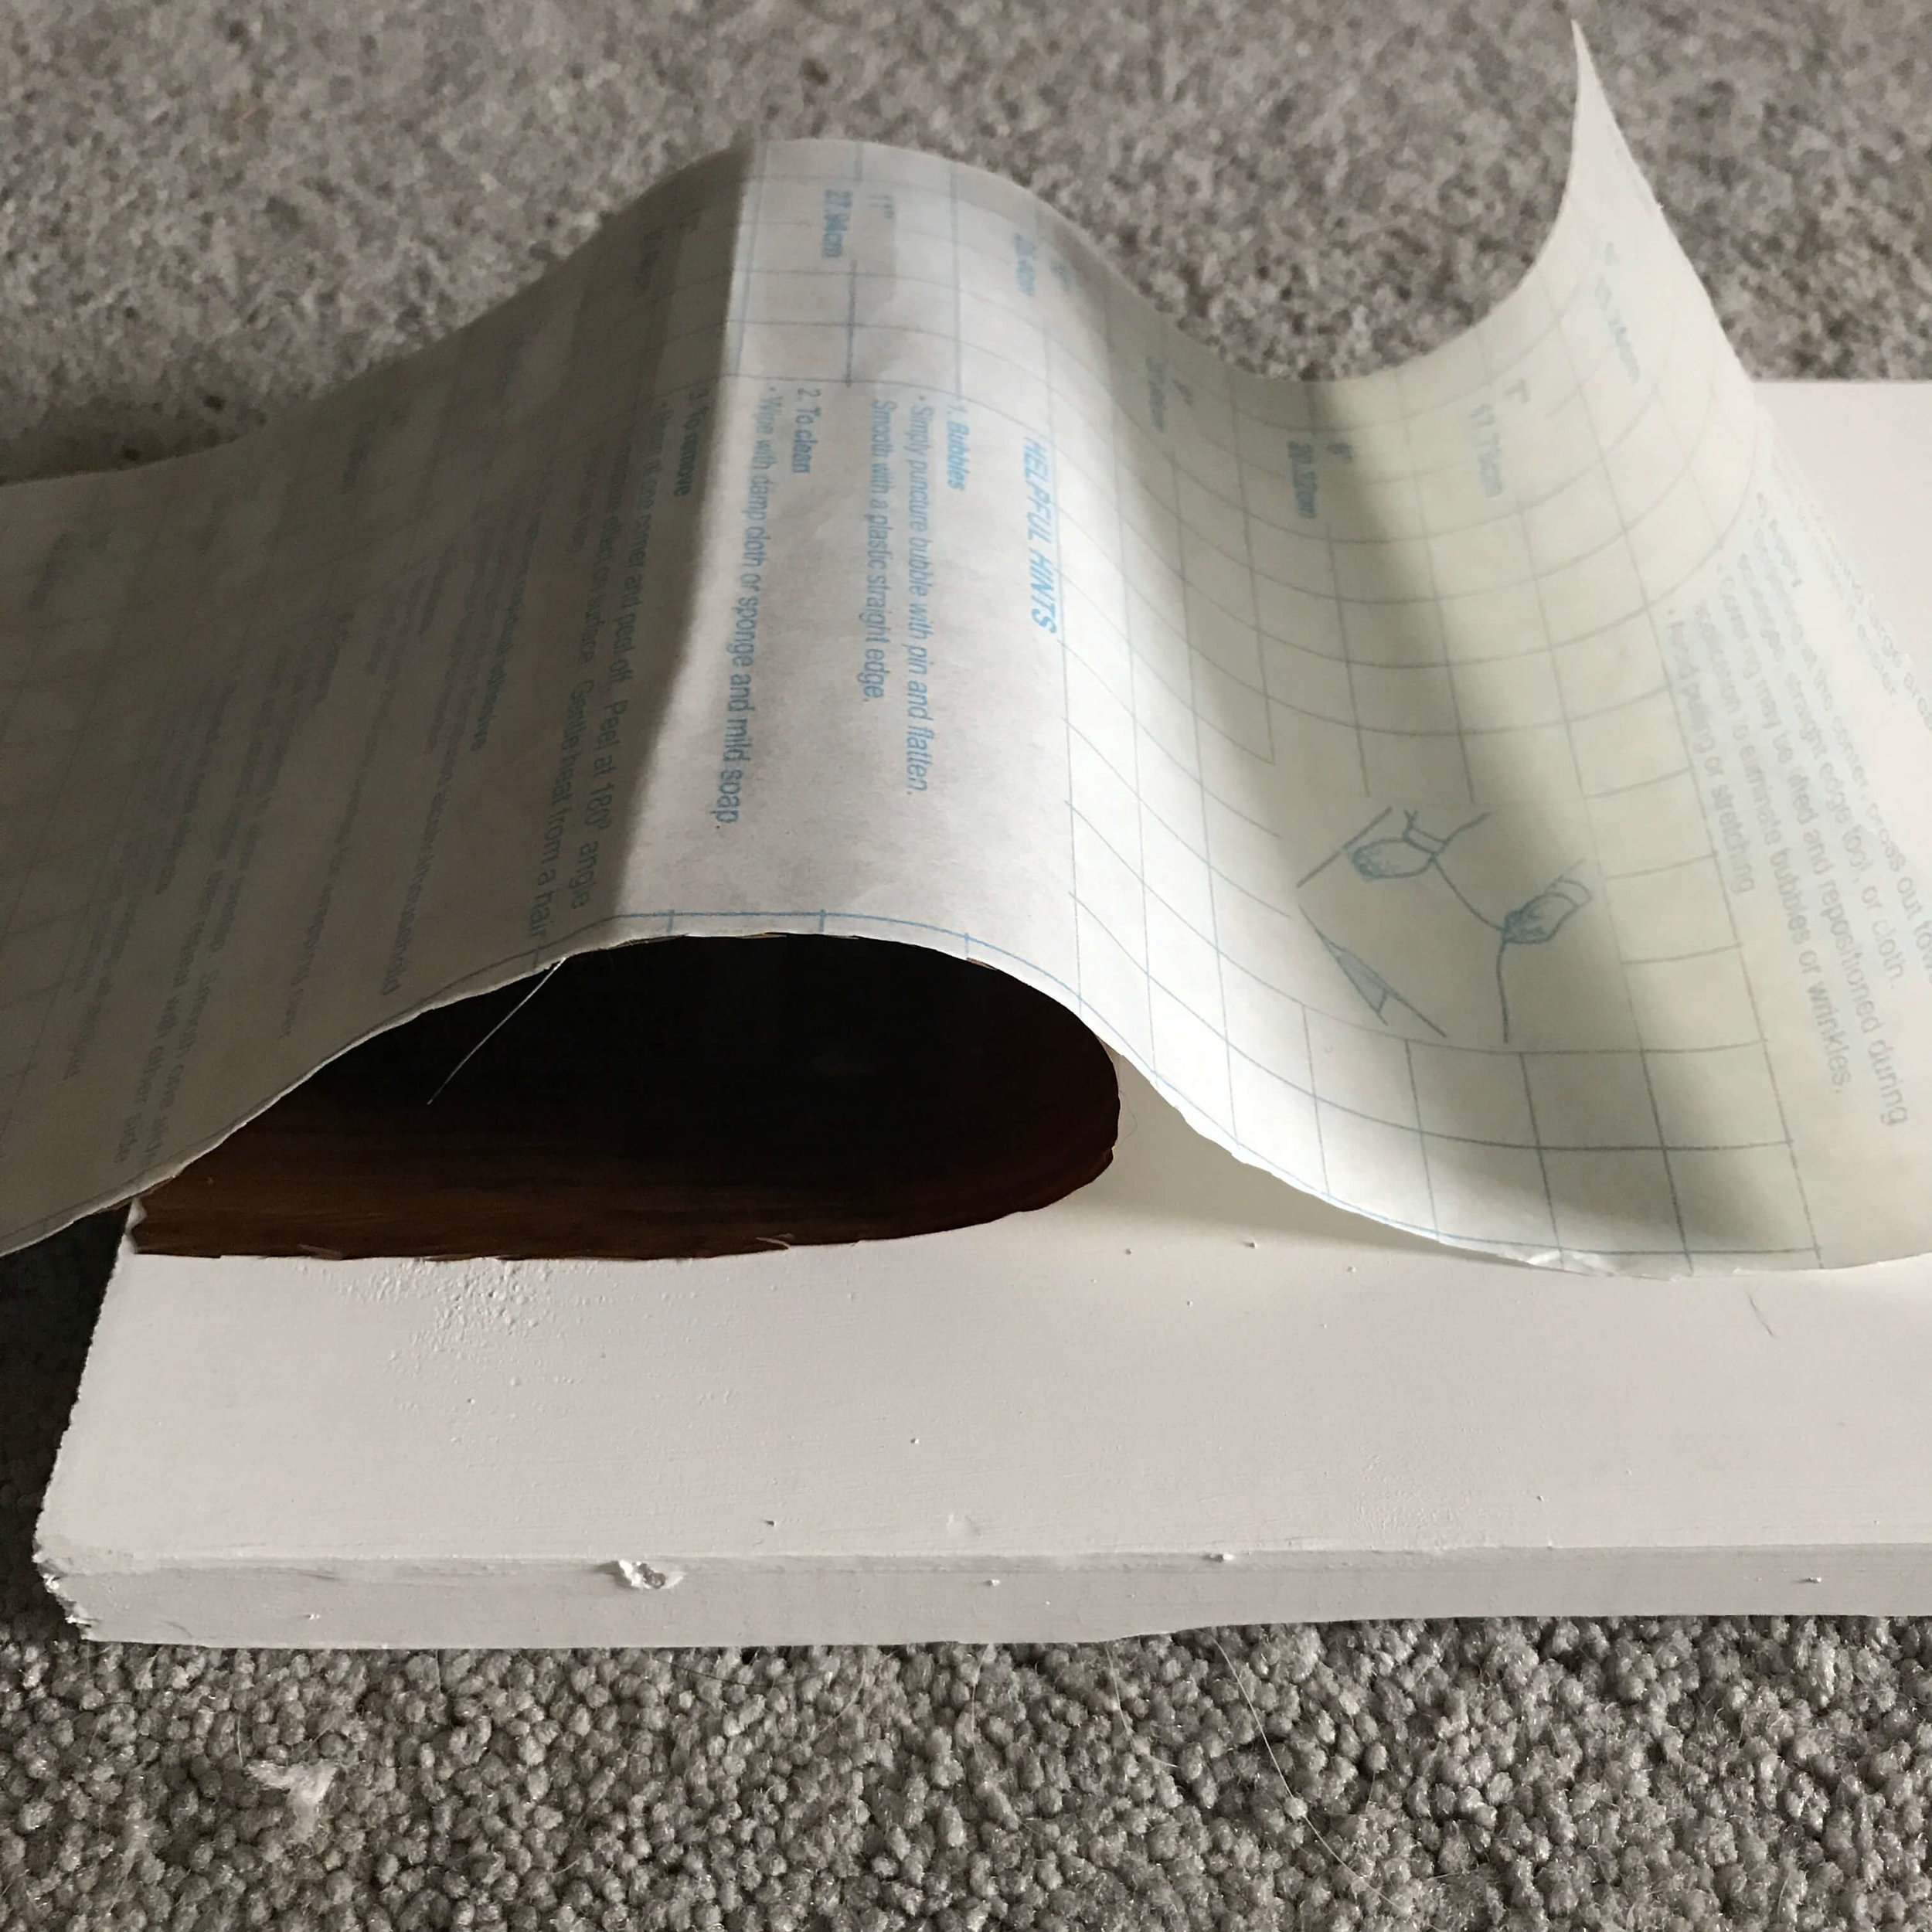
After making sure it is all laid out straight I peel back one corner of the stencil and stick it down. Then I pull the rest of the backing off while watching to make sure the stencil stays straight and that the wrinkles from the contact paper lay flat(see photo below)


Protect your board
Use painters tape or more contact paper to lay over the part of your board that you don’t want paint on! Better safe than sorry!
First coat of paint
Paint a light coat of Mod Podge over the top or do a light coat of paint in the color that you used to paint the entire board(if you didn’t stain it). Let it completely dry.
SECOND COAT OF PAINT
***If using PAINT to create “ruler” then do a VERY light coat of contrasting paint with a spouncer or makeup sponge. By going VERY light then you will reduce the amount of bleeds that occur under your stencil. Let dry and do 3-4 coats with the spouncer until it is completely covered.
***If using a SHARPIE then carefully fill in your stencil with the marker.
TOUCH UPS and Sealing
After paint has dried, remove the stencil and do any touch ups necessary. For stained boards, use an exacto knife to gently scrape away any paint bleeds. If the stain comes off then you can use a Q-tip to put a small amount of stain on the problem spot.
There are two options for sealing your board if you use chalk paint. Wax or a spray finish. I use a spray finish. I like to do 2-3 light coats of light sealer on the board.
Hanging your wooden growth chart
Predrill 2 holes on the top of your board. Screw in the rings.
Tie on the twine for hanging. Be sure to measure 6 1/2 feet from the floor to hang your growth chart!
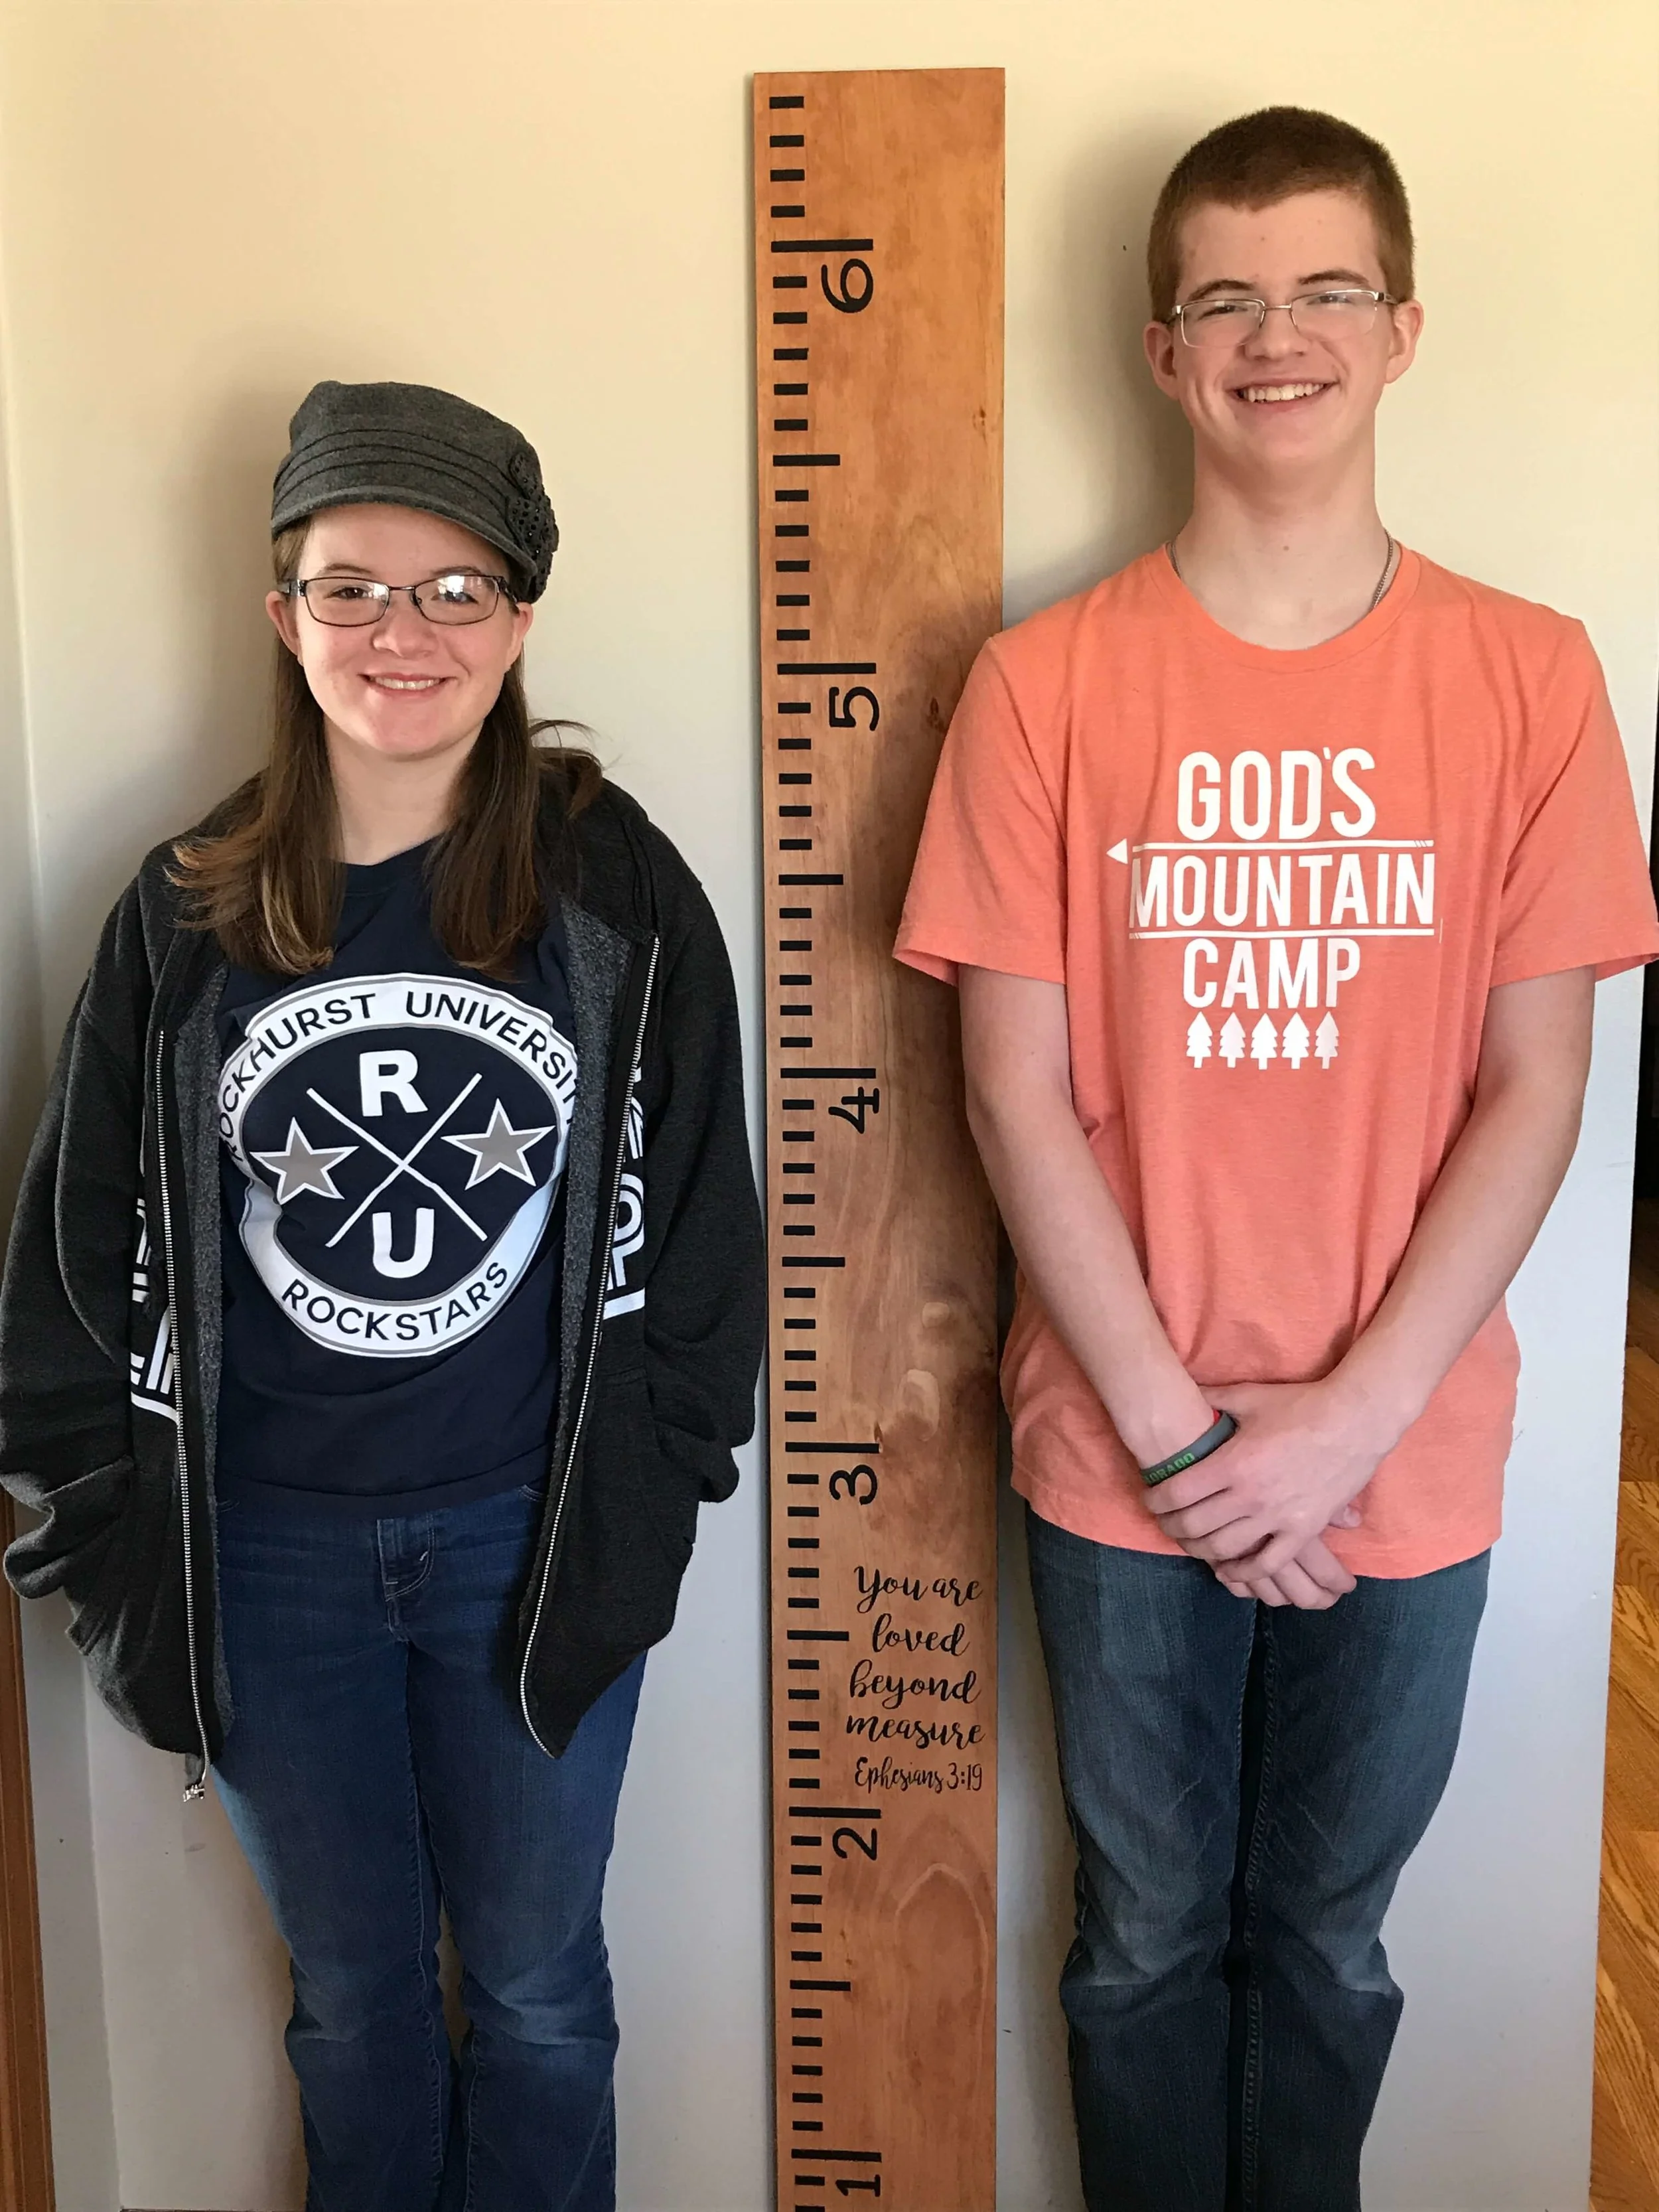
These are two of my monkeys posing for me by a new growth chart! It is not hung so they are not as tall as it looks in the photo! I’d love to see your monkeys by their chart! Drop me tag Day to Day Adventures on FB or IG! And if you don’t follow me—GO do it now!
What to read next